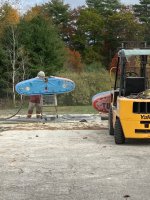
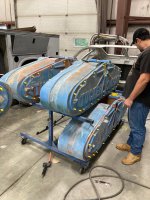
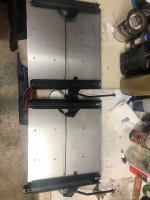
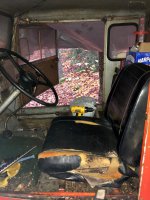
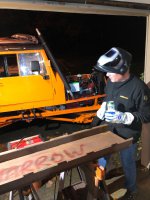
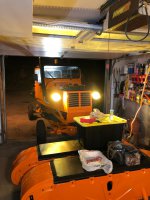
Dave,Rear end bolted back in place and officially out of dry-dock, i.e., off the oak stands. End brackets cut off center channel.
That looks REALLY nice, and working on snowcat stuff in the heat of summer gets you major style points!
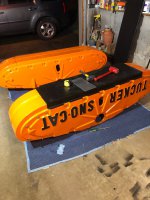
I don't know if it's the same on steel track Tuckers, but on rubber belted Tuckers the rear bolt on the left forward spring pack, and the forward bolt on the right rear spring pack are inserted in the opposite direction from normal, with the bolt head on the inside and the nut on the outside. The reason is for greater clearance with the steering components.

 I double checked that on the front and then doubled it on the rear. BUT, it was going to be a pain in the ass to get it out there as an assembly without the wheeler, so I had the boy help me carry the refurbed axle out and then brought out the table / spring assembly. To get them mated again easily I removed the spring bolts, swung the springs over onto the axle, bolted everything together, then flipped the table up and re-bolted (incorrectly)! Thank you for catching that because I probably wouldn't have, until after contact was made.