olympicorange
Active member
look'n great dave,....

 Maybe this will help someone in the future when they are pulling out their hair.
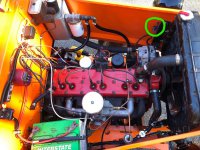
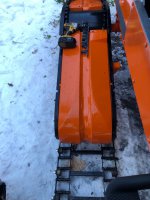
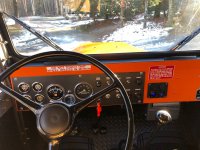
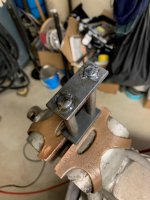
 Swap the fuse, pull the switch and it immediately pops. Spend an hour trying to figure out how the horn work could have possibly affected the lights. Pop the dash panel back out to verify everything was still ok. Trace everything a third time. Stumped. Go to bed thinking about it and wake up thinking about it. Riding to work it dawns on me only spot that could be grounding out is by the lights. I'm not sure if every Tucker has this, but on my headlight / radiator support brackets I have positive and negative power contact points. They aren't 'powered', they are just contact points that are mounted on non conductive phenolic pads. Feed power to the top with the power lead for the light, use the bottom to continue the feed to the other side. I unscrew these and just attach the wires directly together to test. Lights work. Why did they work for 3 weeks with no problem and just quit? Solution to others: Even though screws going into those connections look OEM, don't assume that they are. The screws only have 1/4" of thread to keep from contacting the steel plate they are mounted on. One of mine was 3/8". It worked fine and wasn't a problem . . . until the vibrations from the engine running finally scrubbed away the paint to ground and short.
Ok just making sure you are not one of those guys....That was the exact reference diagram I used when converting from the 3 prong. But, nothing was going to work until I cleaned up the threads so the ground path was cleared
") )
)

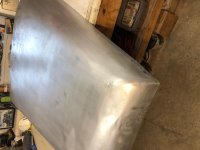
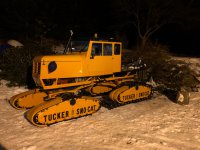
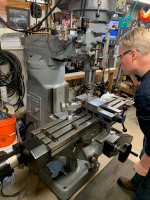
 After strapping it together with multiple tiedowns I creep it back up on the hill. Then it was time to start gathering materials to build parts that are no longer made. I'm guessing the last owner ran into the same exact issue, and after he couldn't source half links, he just tightened it up with 30 grousers. I will say that like every 'sidetrack' project similar to this, I gain a new appreciation of just how many man hours had to go into producing a track. Times four.
Why didn't you just go to napa for the necessary parts. tuckers are great, "you can get everything from napa". that quote is only repeated by new owners and non-owners. I am in amazement at all the repairs and patches on these machines, I build replacement rear diffs and a lot of the fixes are quite impressive.Well, since Mr. Redsqwrl corrected (edumacated me) my thinking on the 30 grouser club, I had to get some west coast (parts) and east coast (fabrication) help to make it right. With my additional grouser to get my R/H rear corner back to a full compliment of 31, I finally got crazy and started the transfer about a month ago. Had the old girl down in the driveway so I could be on the flat and work in the sun. Jack the rear up, drop the drive shaft, hammer the end adjusters back in to shortest setting and start the link bending process. That's good fun.
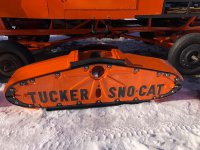
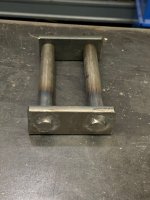
Getting toward the end of the process, with maybe 3 links left to bend and not really thinking too much (or at all?), I grab the extra grouser and connecting links. I'll just pop those in, bend the last few links and readjust the tension. And then it hits me -- there's no way I'm taking up 6 inches of slack. After scratching my head for a few minutes I catch the problem / solution. The other three tracks have half links installed to reduce the extra slack by 3 inches. I have plenty of full links for spares, but no half links.
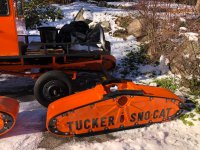
So, the Tucker is blocking my driveway and I can't get the track hooked back up since everything has been bent and shortened. And I'm running out of daylight.