• Please be sure to read the rules and adhere to them. Some banned members have complained that they are not spammers. But they spammed us. Some even tried to redirect our members to other forums. Duh. Be smart. Read the rules and adhere to them and we will all get along just fine. Cheers. :beer: Link to the rules: https://www.forumsforums.com/threads/forum-rules-info.2974/

1202B repairs

1203_zpsbrzcwt0m.jpg


Well when I went to prep floor for raptor liner I discovered some rot. Also previous owner apparently enjoyed drilling unnecessary hole in floor.
1205_zpsfsl6w66j.jpg


1202_zpssxpvp8gw.jpg

Solution will be 1/8" aluminum floors. I know it will be heavier but the original 16 Ga floors were so bent and rotten that I want a permanent fix.
 

redsqwrl

Bronze Member
GOLD Site Supporter
that should do it. Now get it back on that trailer and head east to MI. Just a short 7-8hrs maybe 10?

on a serious note keep up the good work.

Mike
 
Don

Is there a source you know of? I would like to upgrade but at 610 dollars there may be some other option..

Mike

Its about 7. Believe me I looked into it!! Next year we will do some events. By then the Spryte will be in top shape (I hope)..
 

Nikson

Bronze Member
GOLD Site Supporter
Yep, thats it... Just rip it apart slowly and replace with new parts... LOL...

I love/hate it at the same time, thus my concept is just "rip it out - start from scratch" :)... not necessarily approved by a lot of others, but makes me happy... what else to say.

Good going as always...
 

zspryte

Member
Site Supporter
DB Engineering has really nice floormat stuff and will send free samples out to you. They also sell perforated vinyl foam for wall and headliner cabin insulation. This foam is usually made from polyester. Since it absorbs water the stuff can go bad if your cab sees high humidity inside. If you check with them, they sometimes have some stuff made from polyether foam which does not absorbs water.
 

redsqwrl

Bronze Member
GOLD Site Supporter
Mike

Its about 7. Believe me I looked into it!! Next year we will do some events. By then the Spryte will be in top shape (I hope)..[/QUOTE]

Great news. Seven is a good run for lunch out by you isn't it?
 
Put the drivers side floor in. 1/8" aluminum did the trick, rock solid and fit perfect. Tomorrow I will prime and spray with raptor liner. I had raptor liner tinted in white to keep the cab nice and bright inside.

78_zpsysq4mlps.jpg


Predrilled and ready to go

80_zpsdddnhuf0.jpg


Had to trim 1 1/4 inch off front of panel. made them long to be extra safe.

79_zpsmoagkxf2.jpg


Had brushed POR-15 on framework to prevent corrosion between aluminum and frame.
82_zpsqfs9ejps.jpg


Held in by Clecos and ready for riveting

81_zpskhb8kmtc.jpg


All riveted in.

83_zps9zxermym.jpg


Shot from underside of floor. The underside will get raptor lined when I pull tracks to put bushing kits on torsion axles. That way I can get all of the old under coating off. Ordered bushings from Spryte Improvement today. ABSOLUTELY GREAT TO WORK WITH. Nancy is always very helpful.
 
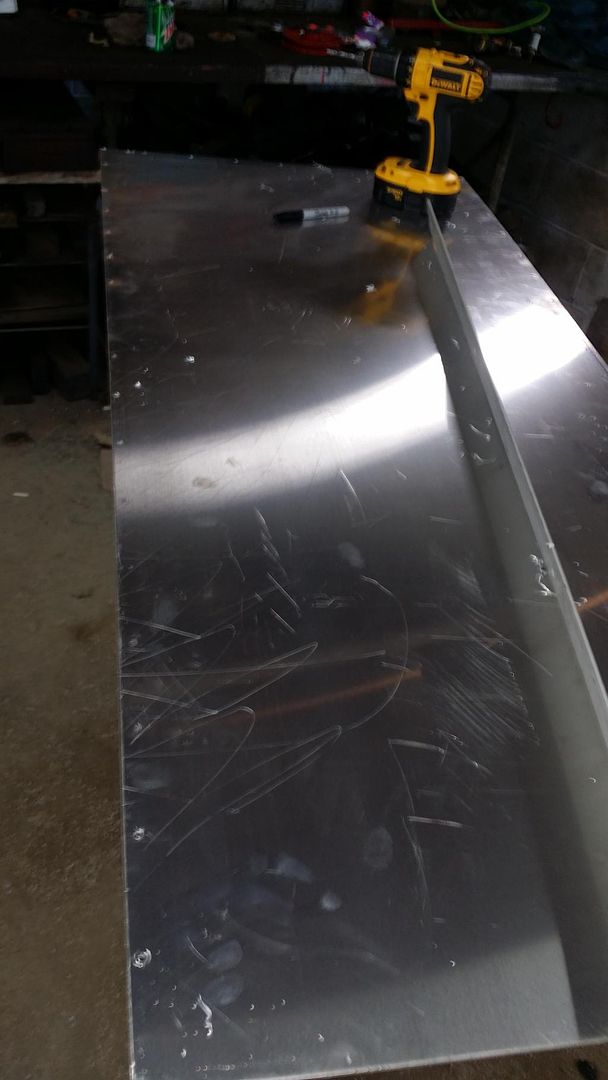
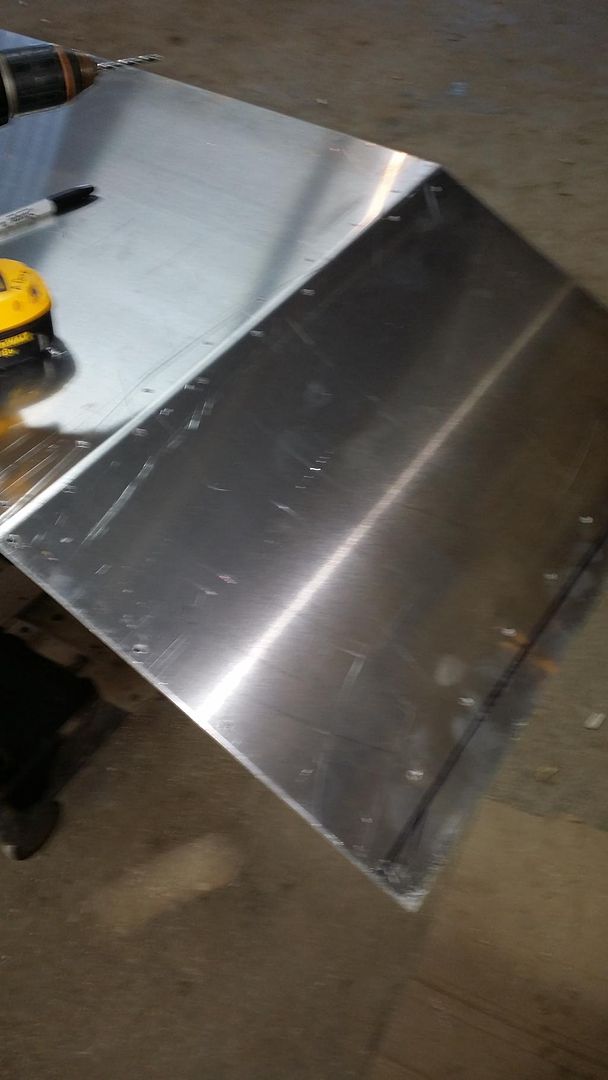
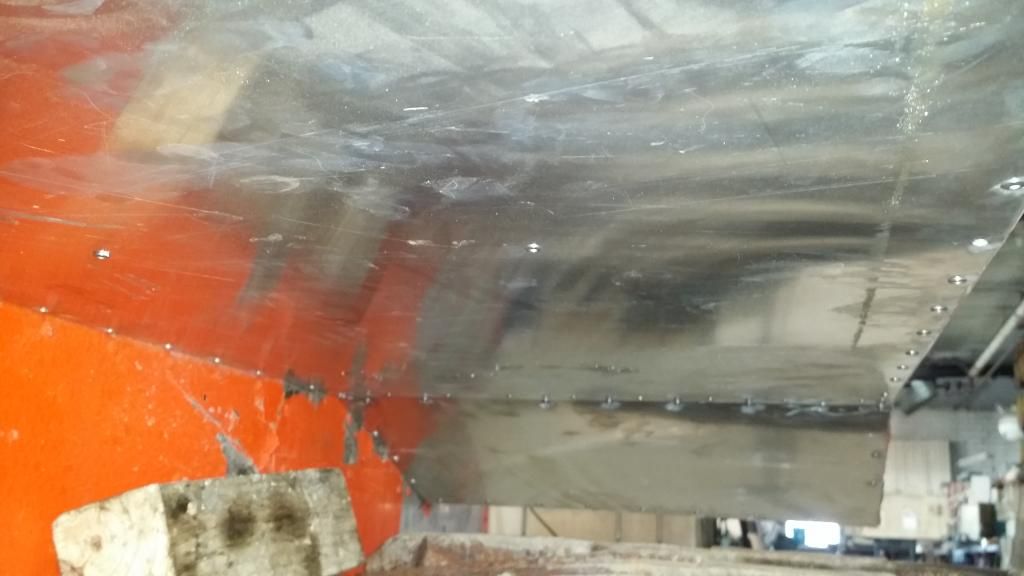
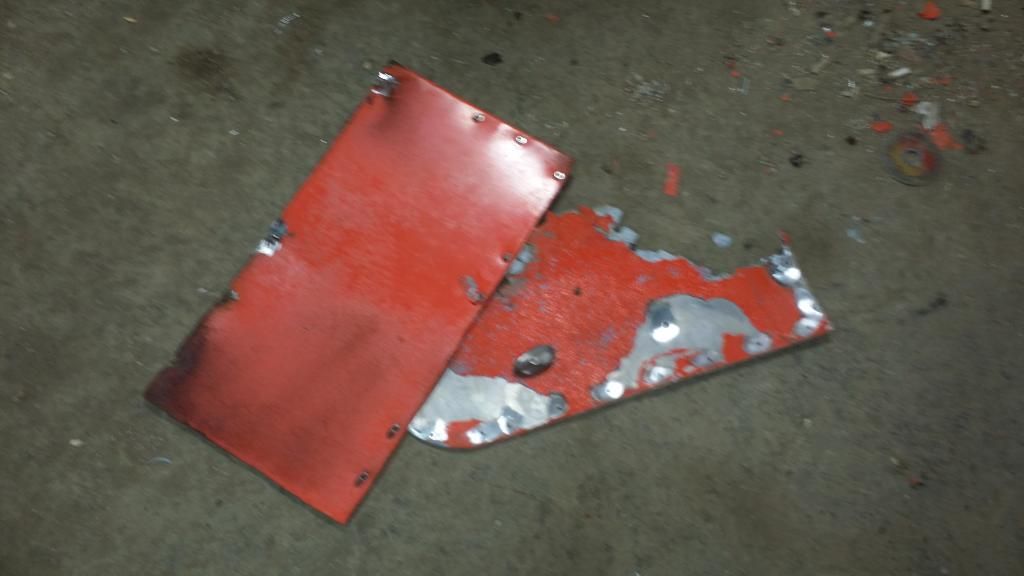
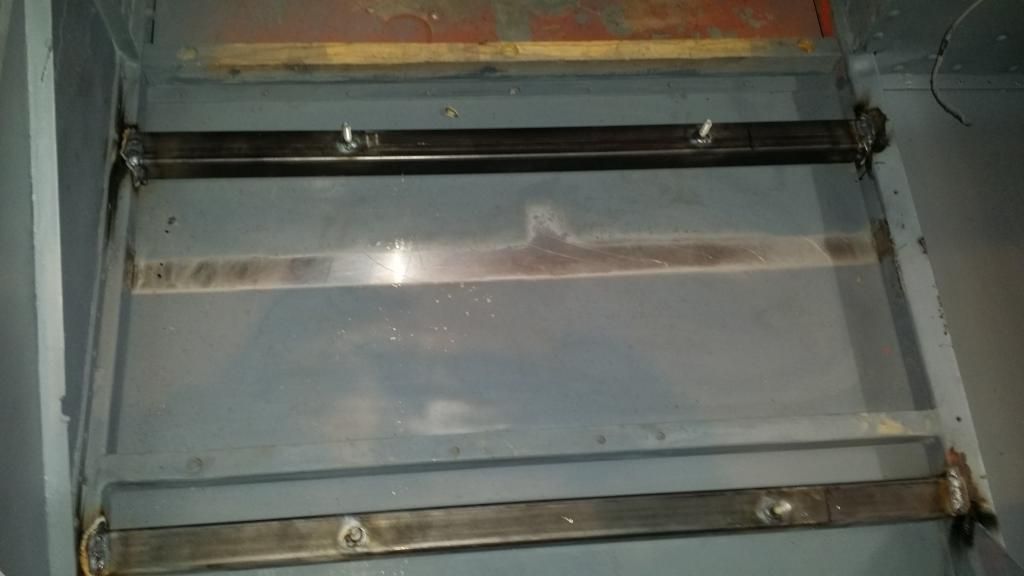
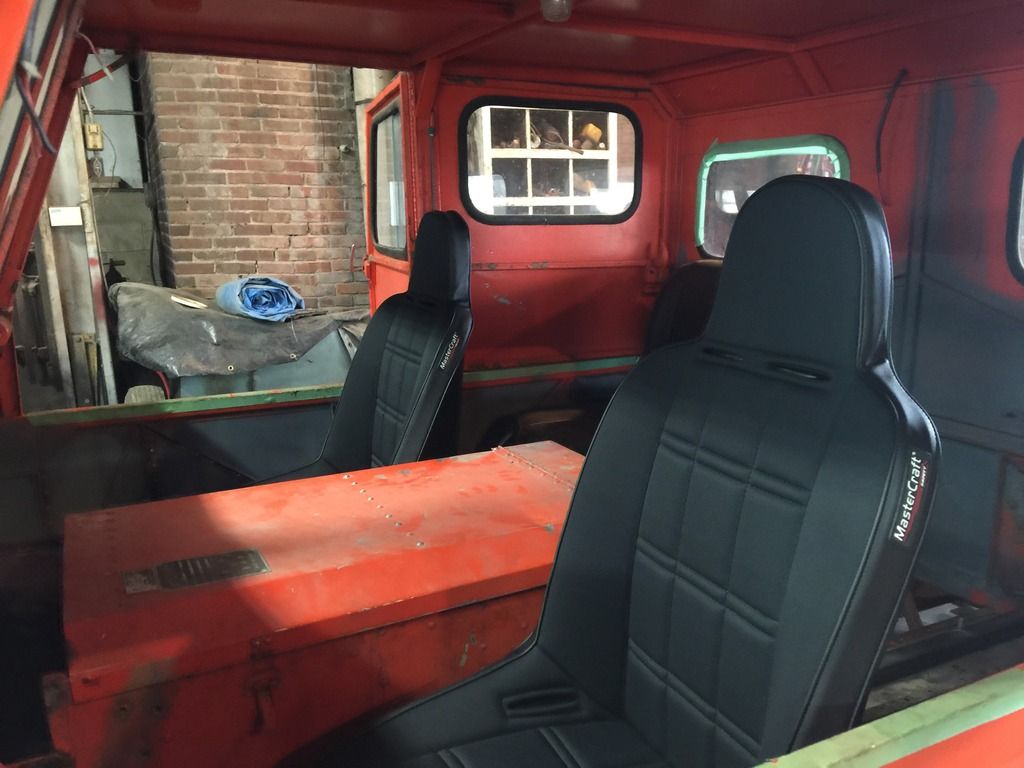
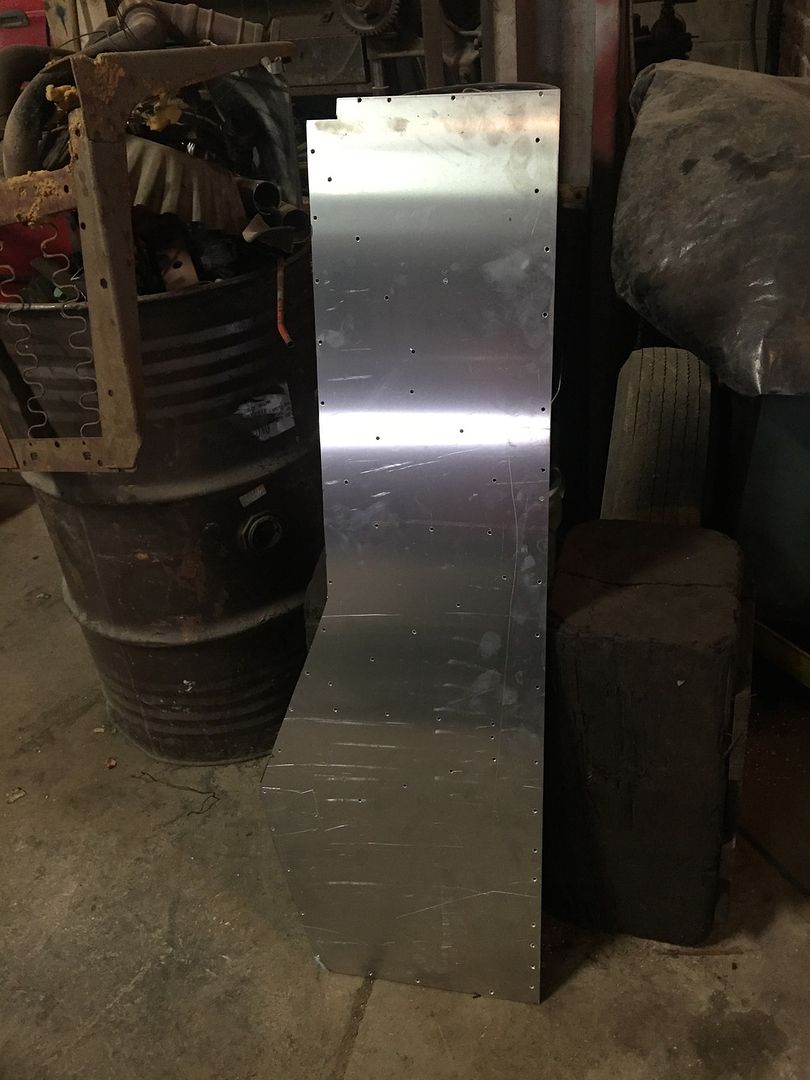
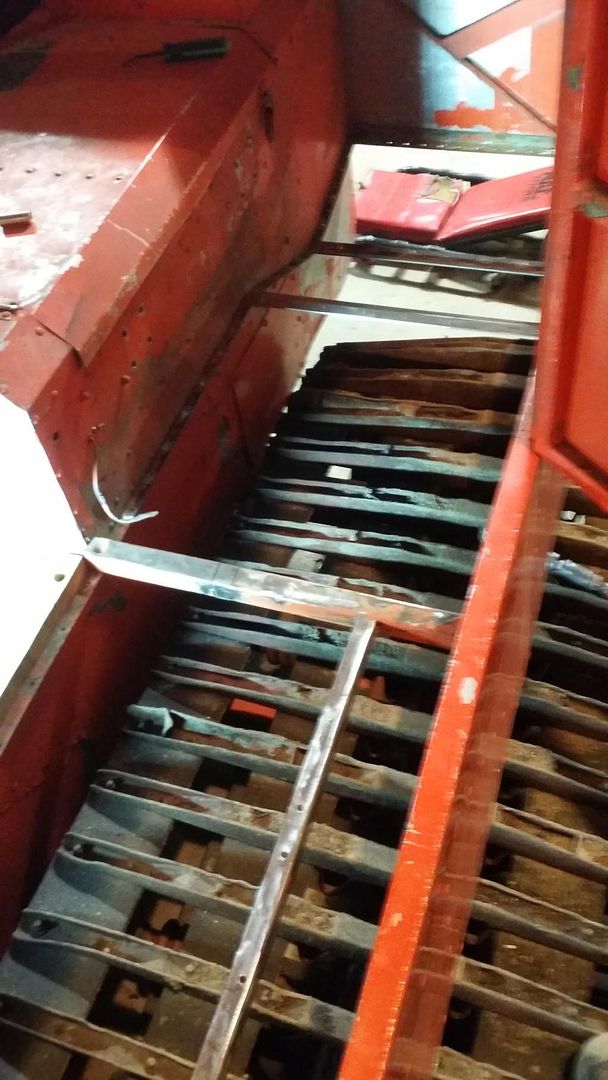
Removed the Driverside floor panel today. Worse that I thought it was. Definitely glad I elected to replace them! Back of the panel was completely shot, didn't even have to drill rivets. Weird thing is that until I scraped beliner off you would have thought it was solid.
1202-101_zps8jqqfqyy.jpg


Grinding all the loose paint off so I can por 15 to protect from corrosion like other side. Tomorrow I will put new panel in and prime. FInish prepping rest of the cab. Friday I hope to spray the white raptor liner. Entire cab interior will be raptor lined white.

1202-100_zpsw1skohxq.jpg


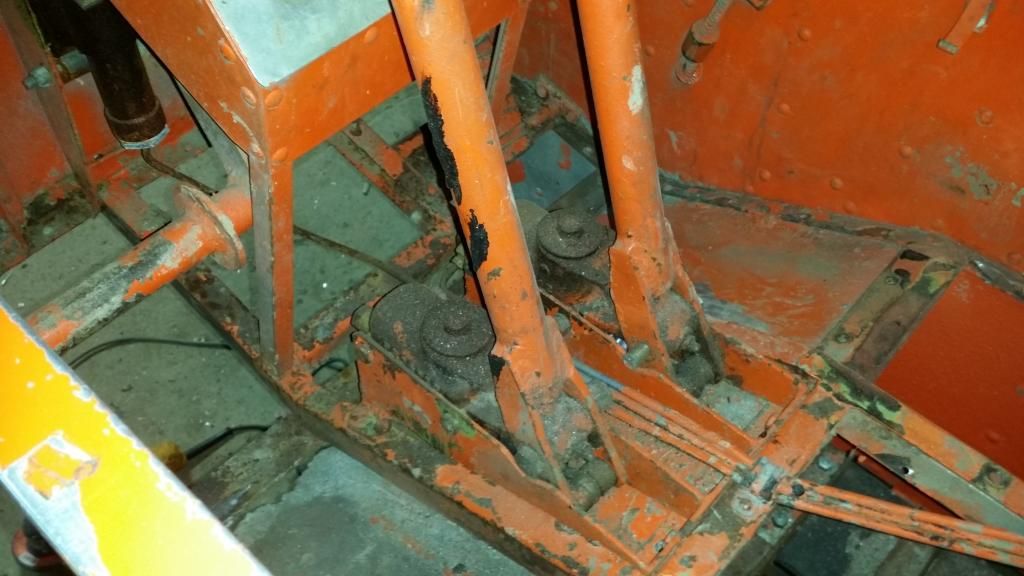
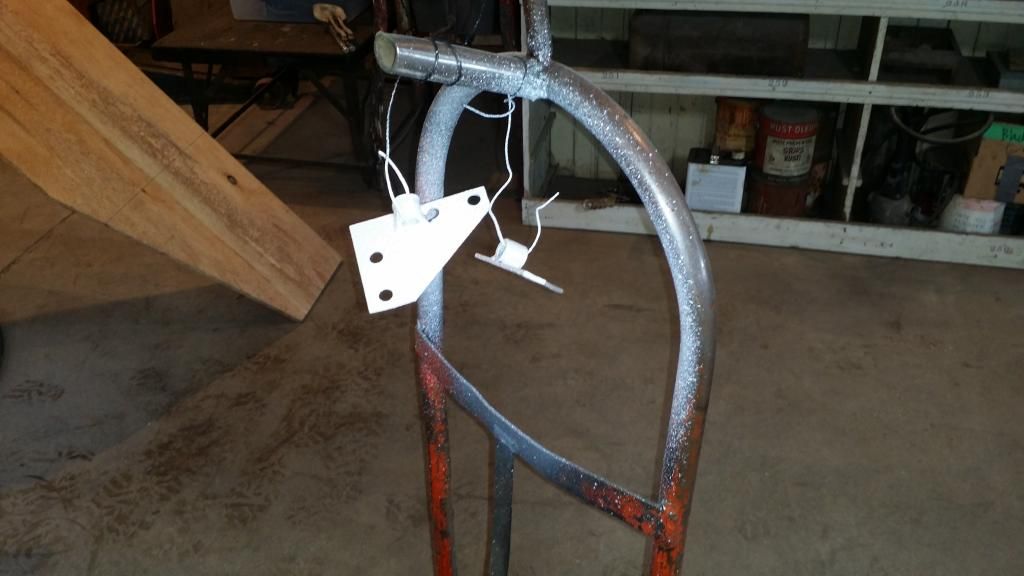
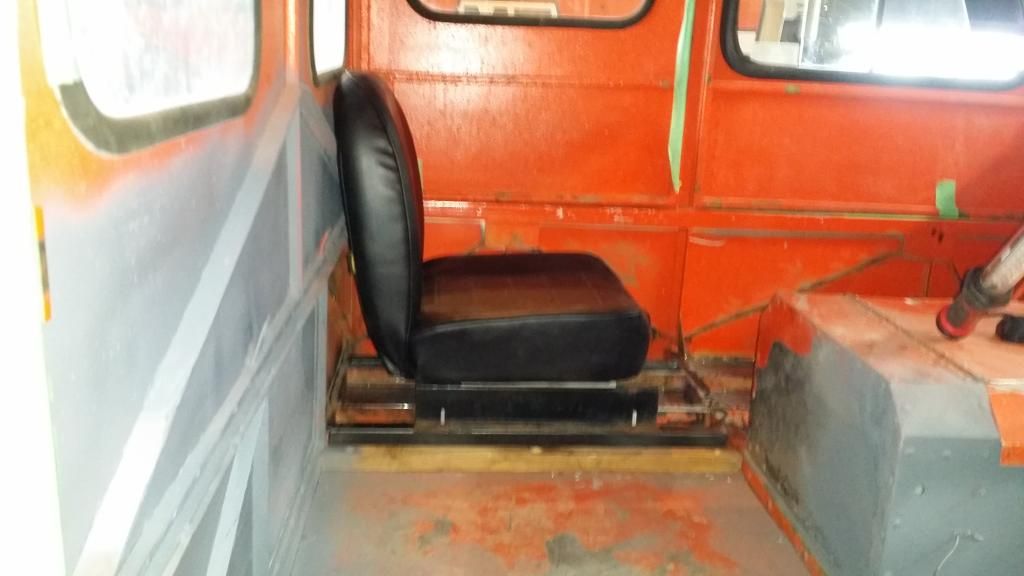
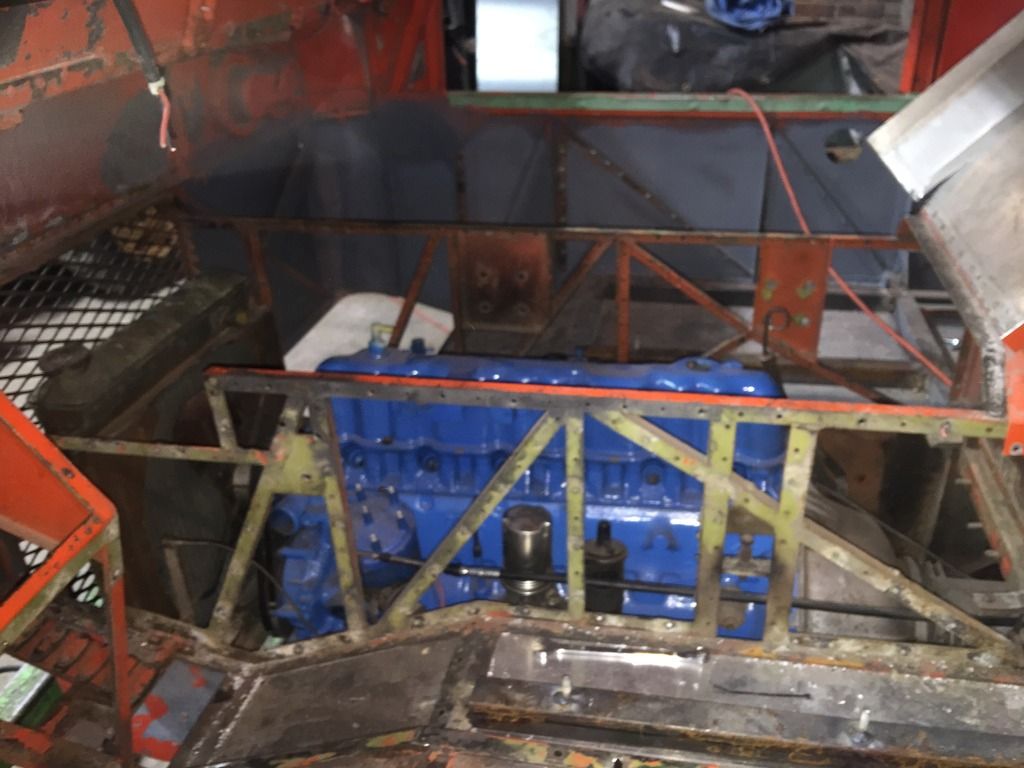
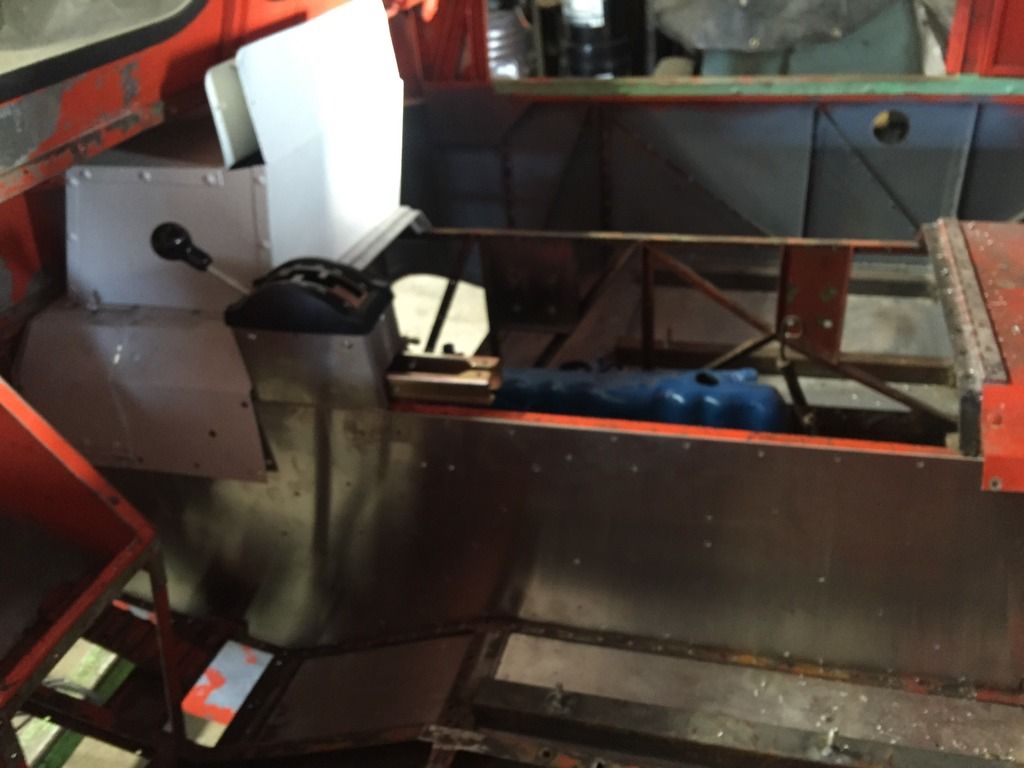
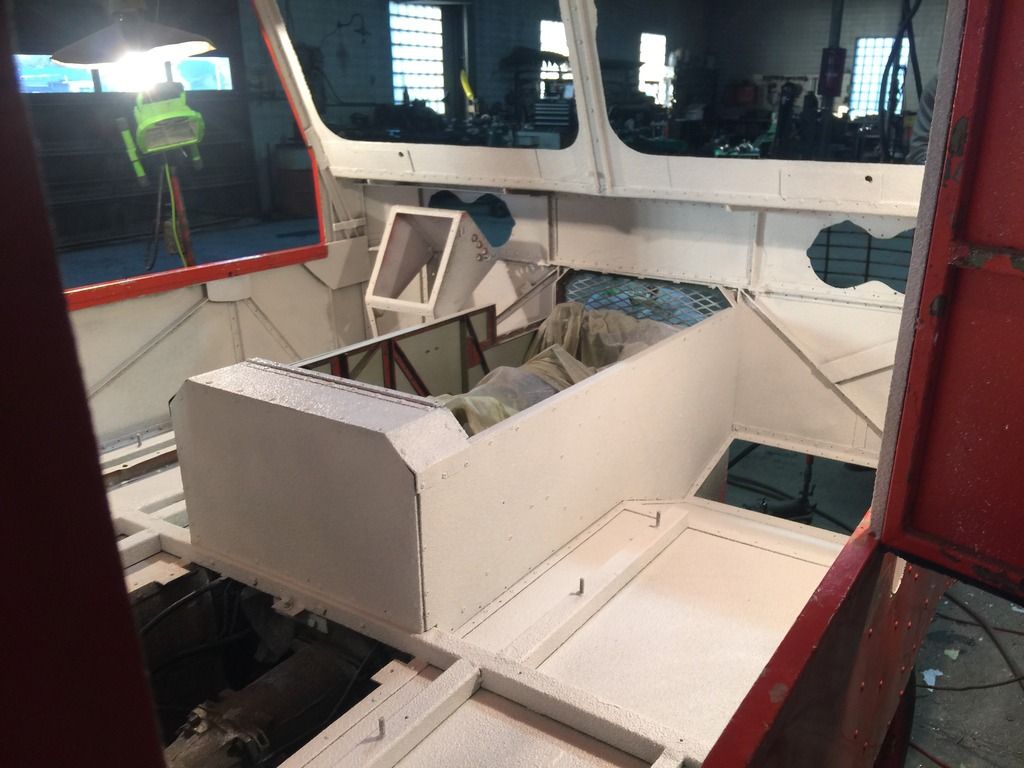
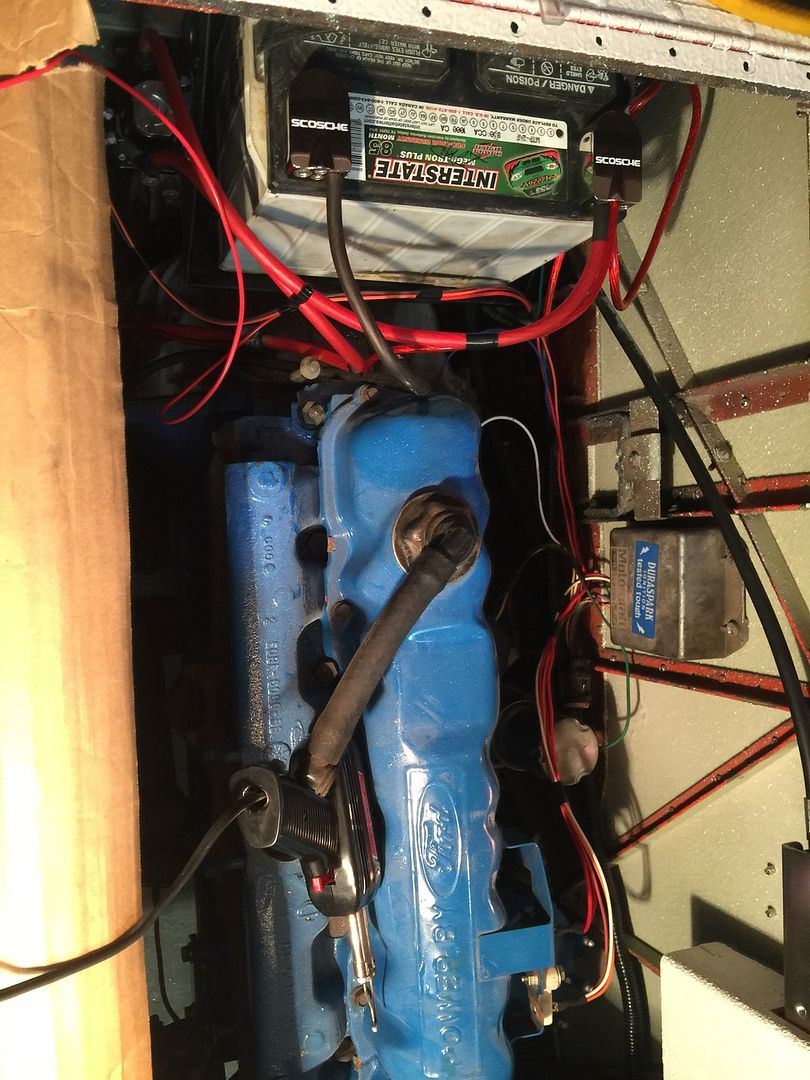
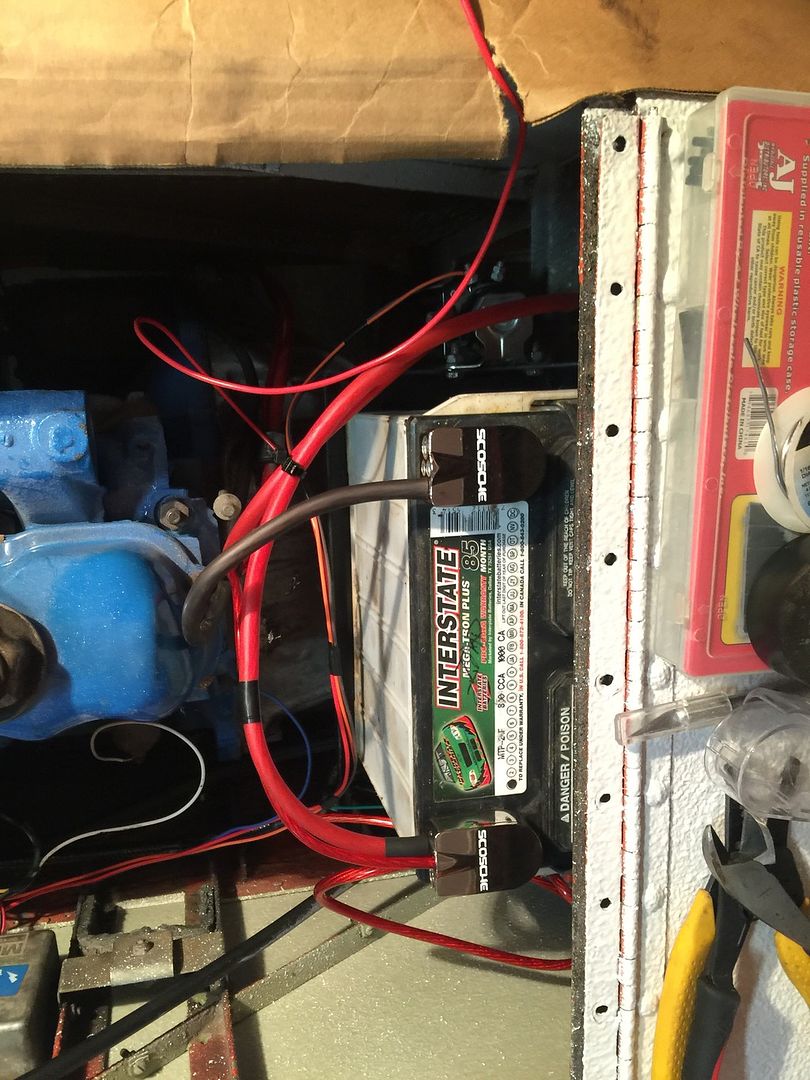
Still need to remove steering controls and throttle to prep for raptor liner. I will go through masters again to make sure there are no leaks. Don't want a mess on new floors!!

1202-104_zpswxuslk20.jpg


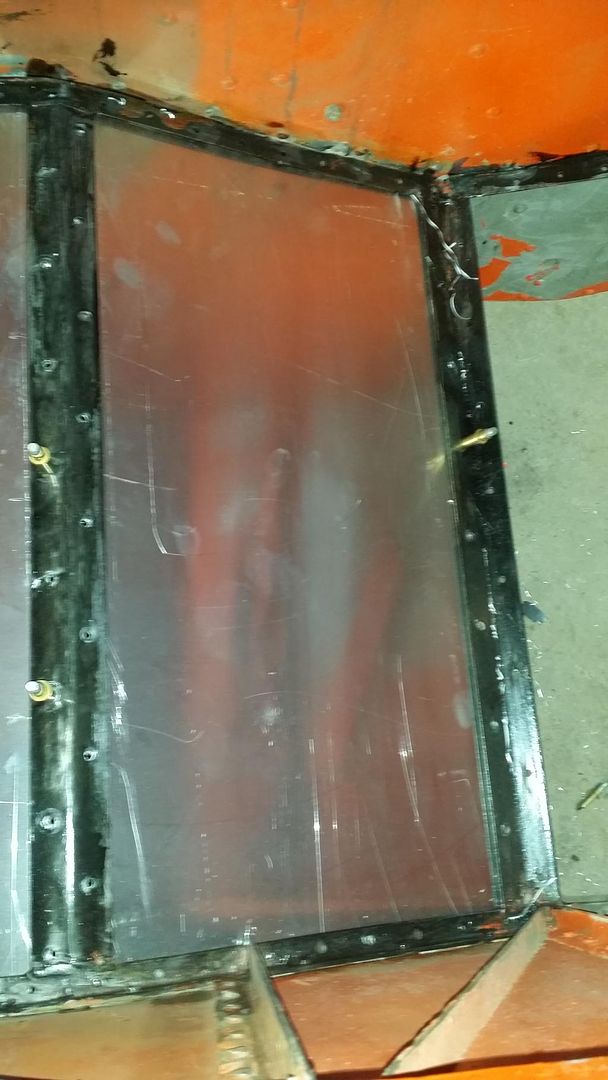
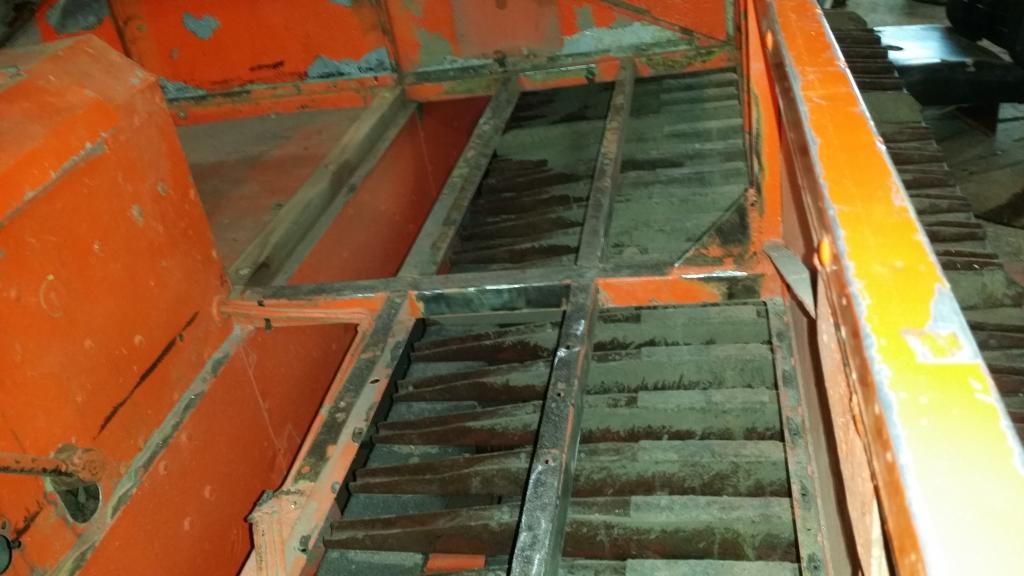
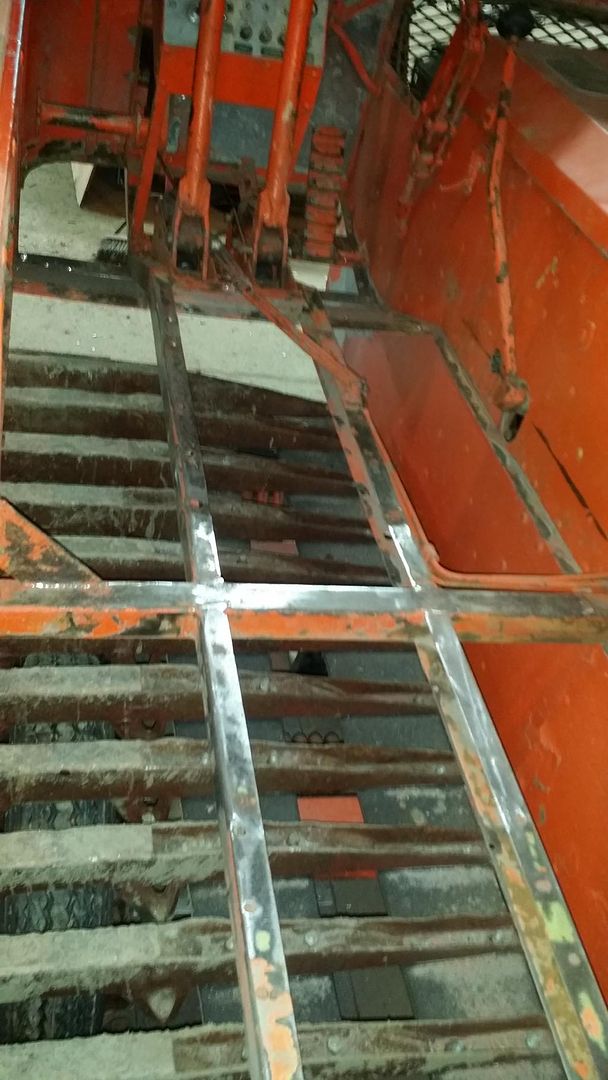
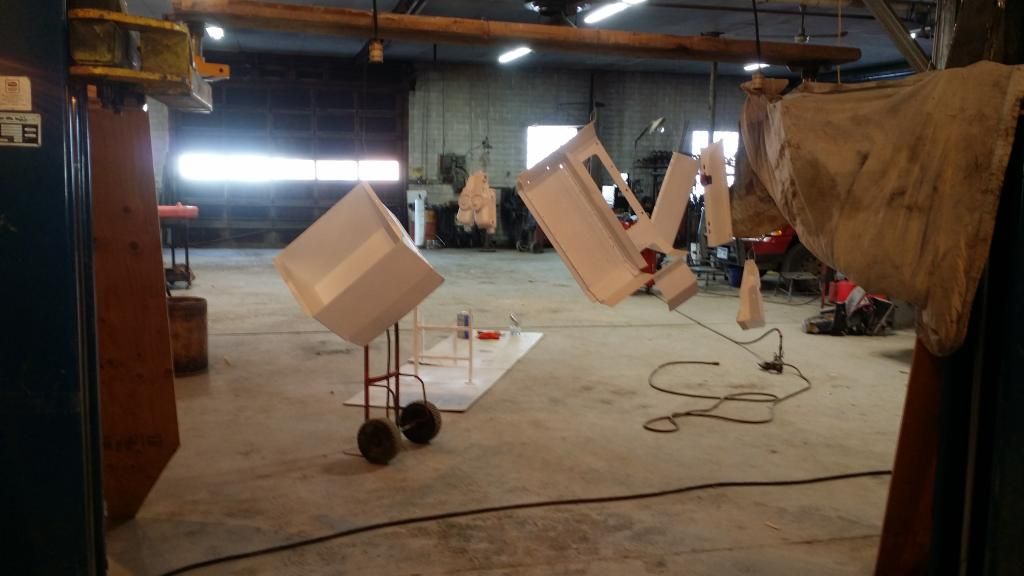
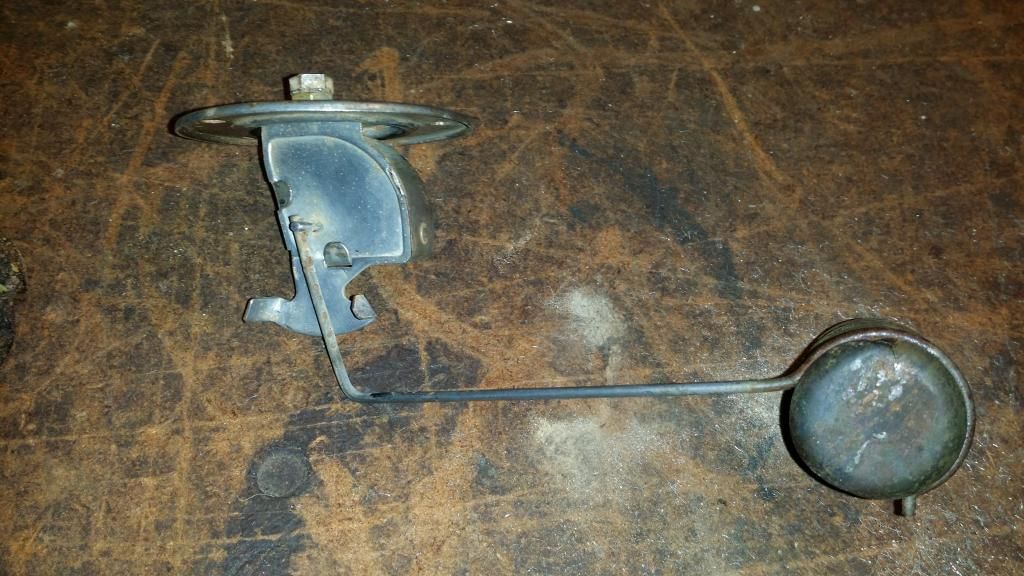
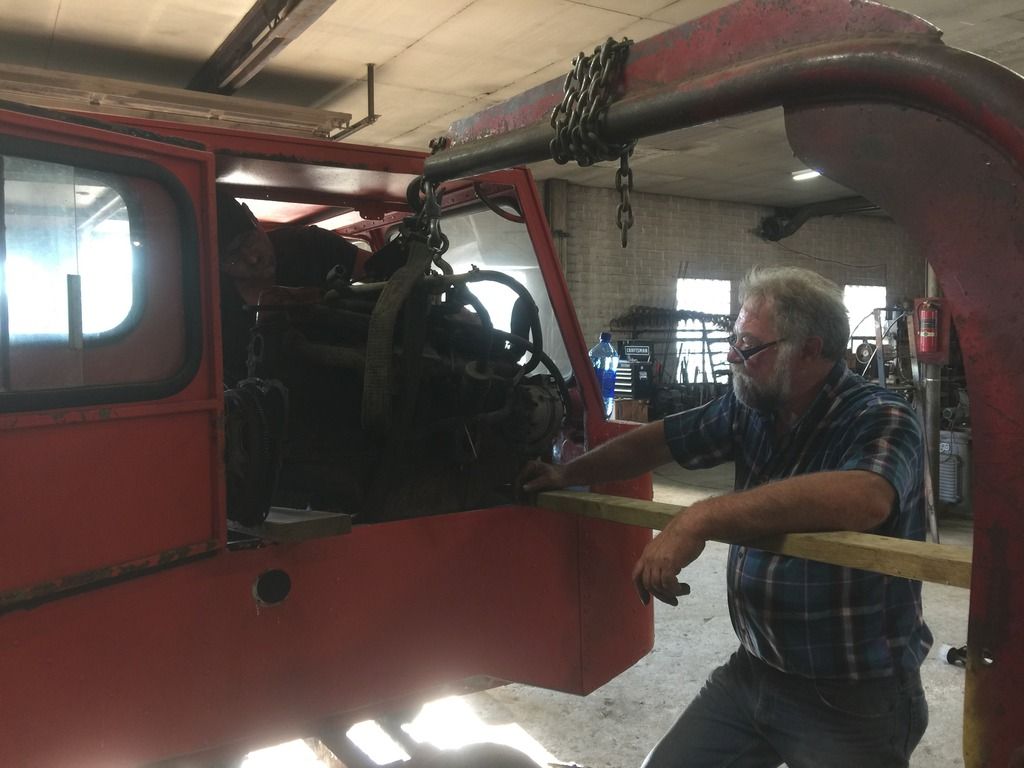
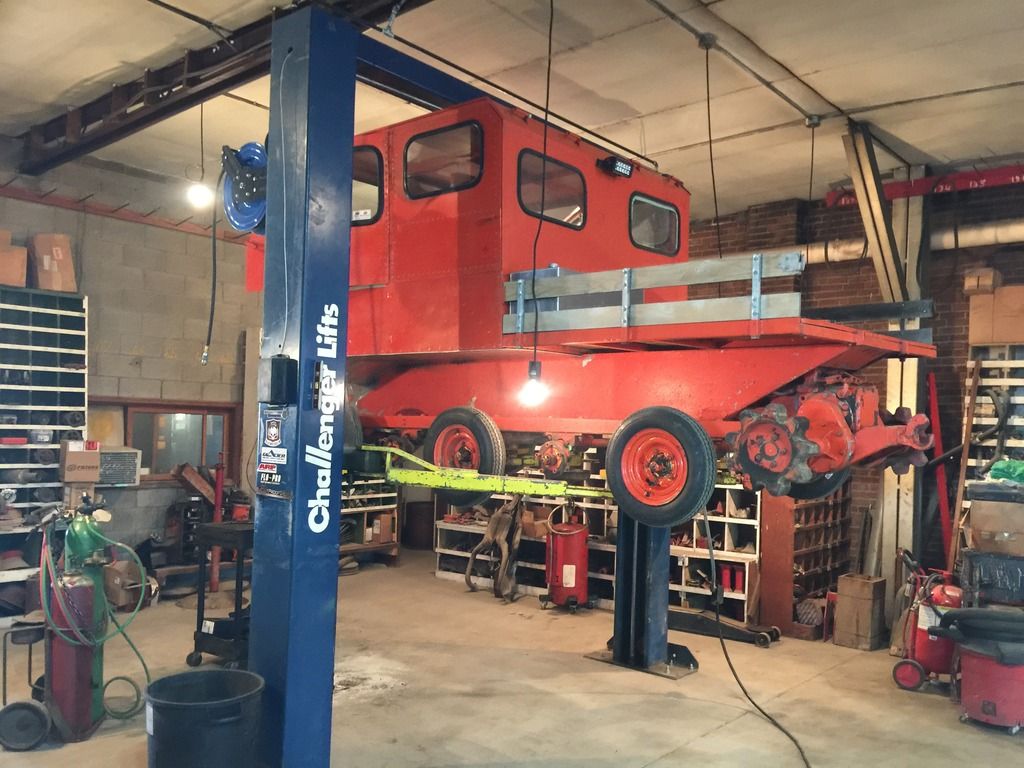
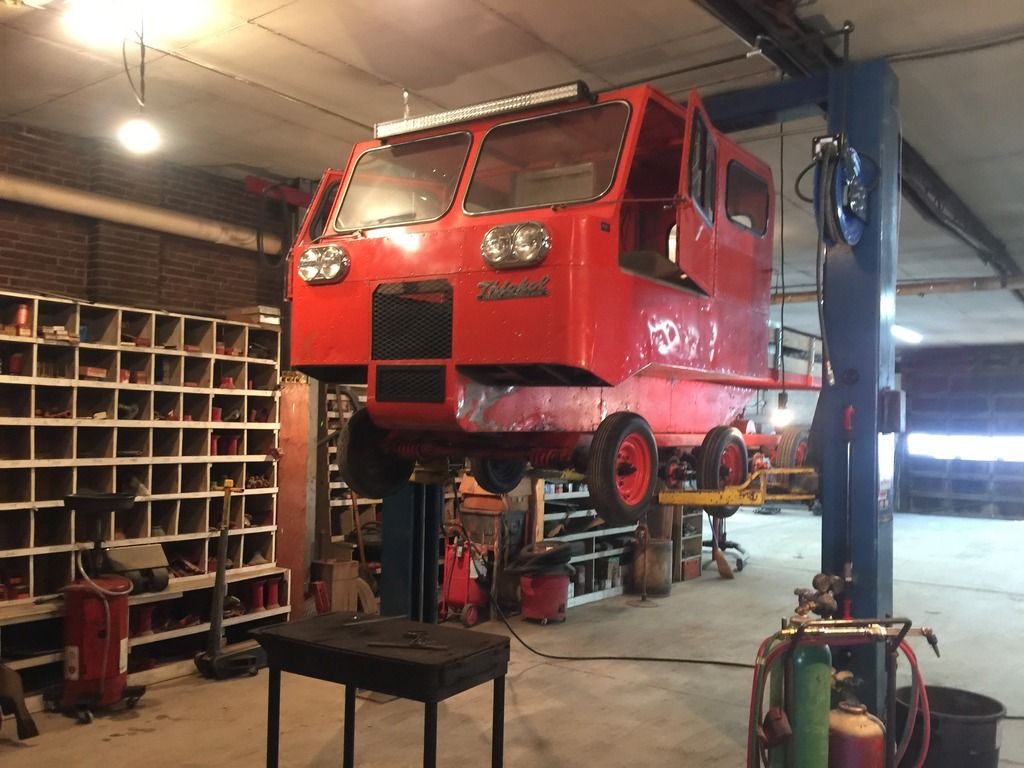
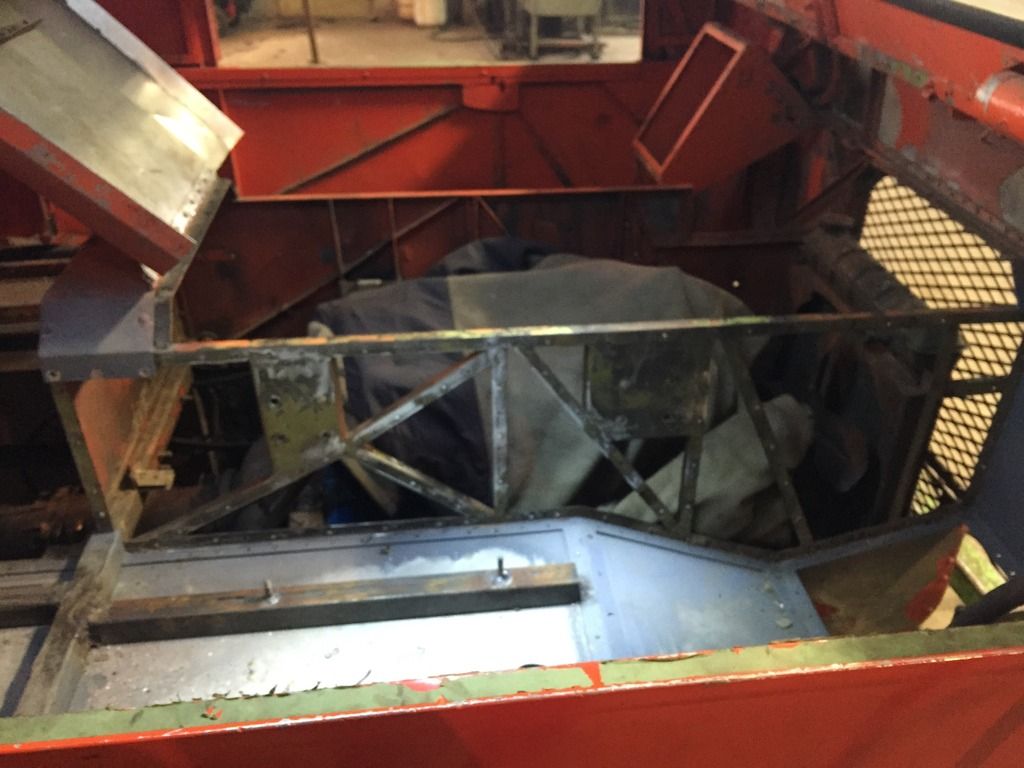
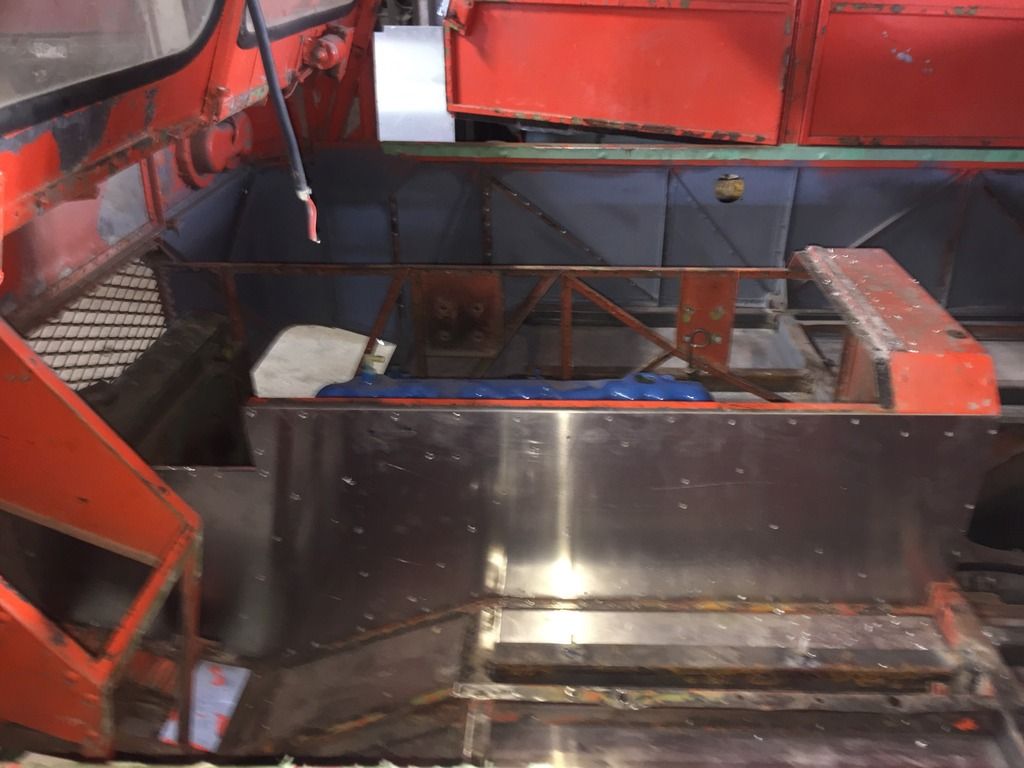
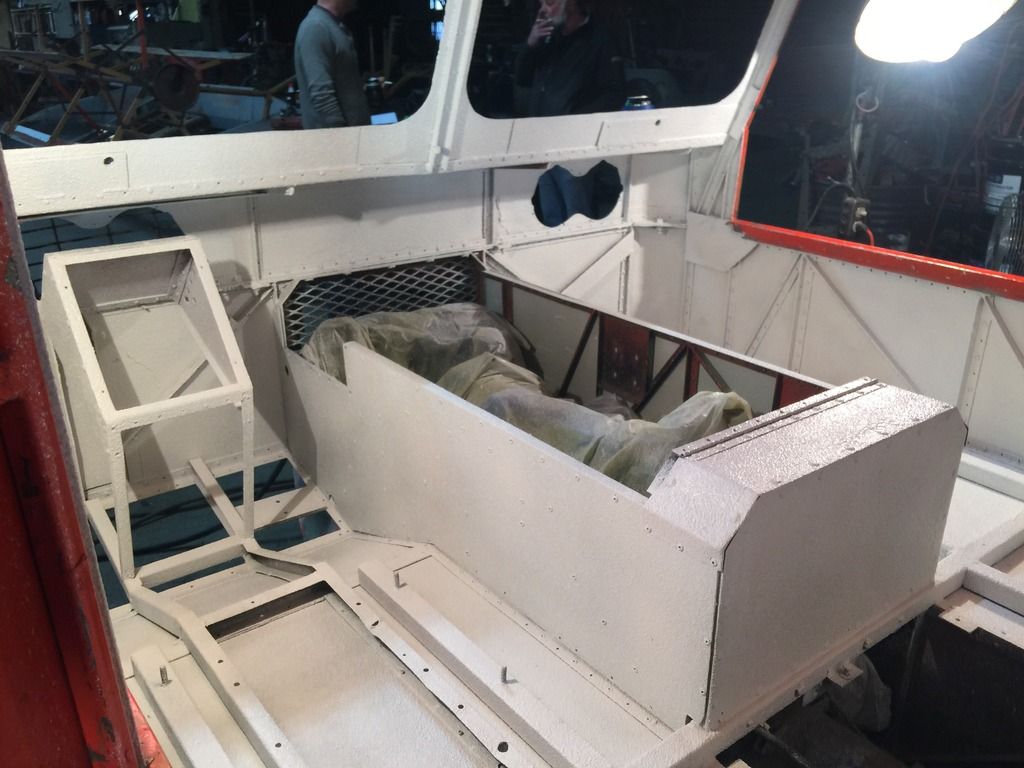
As you can see control area is a mess, wish I would have taken some before pictures. The Drivers floor pans were completely rotted and bent up.

1202-103_zps9aceqzip.jpg


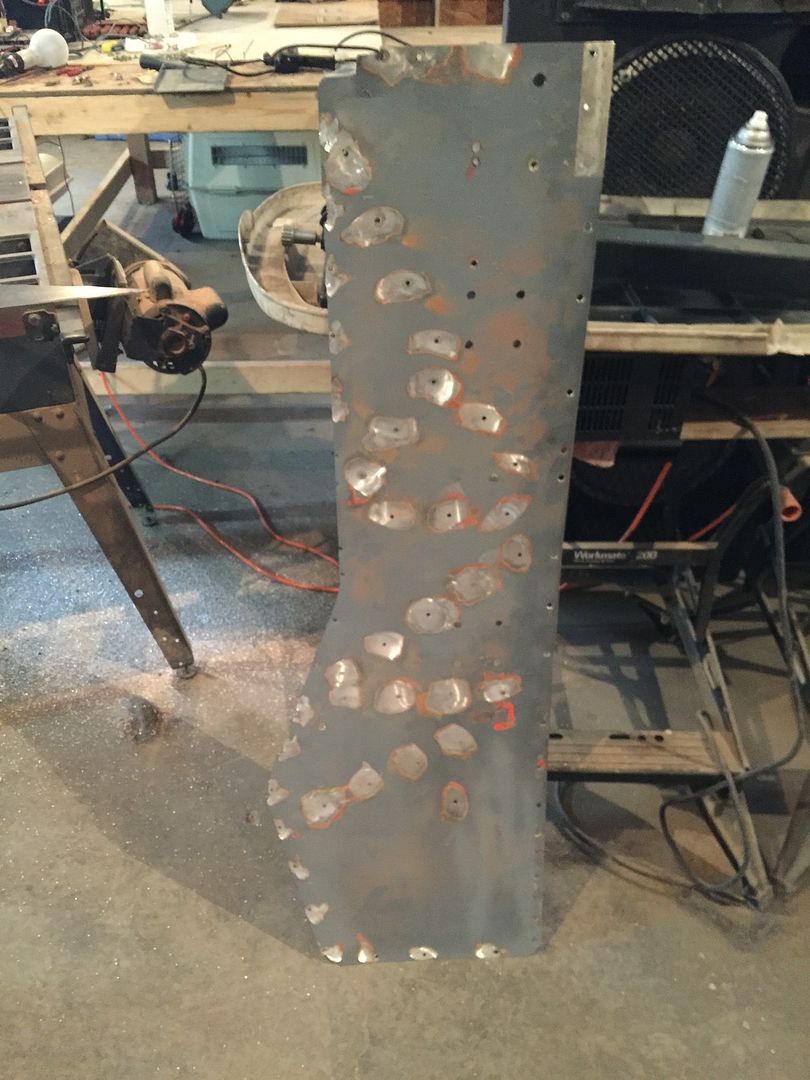
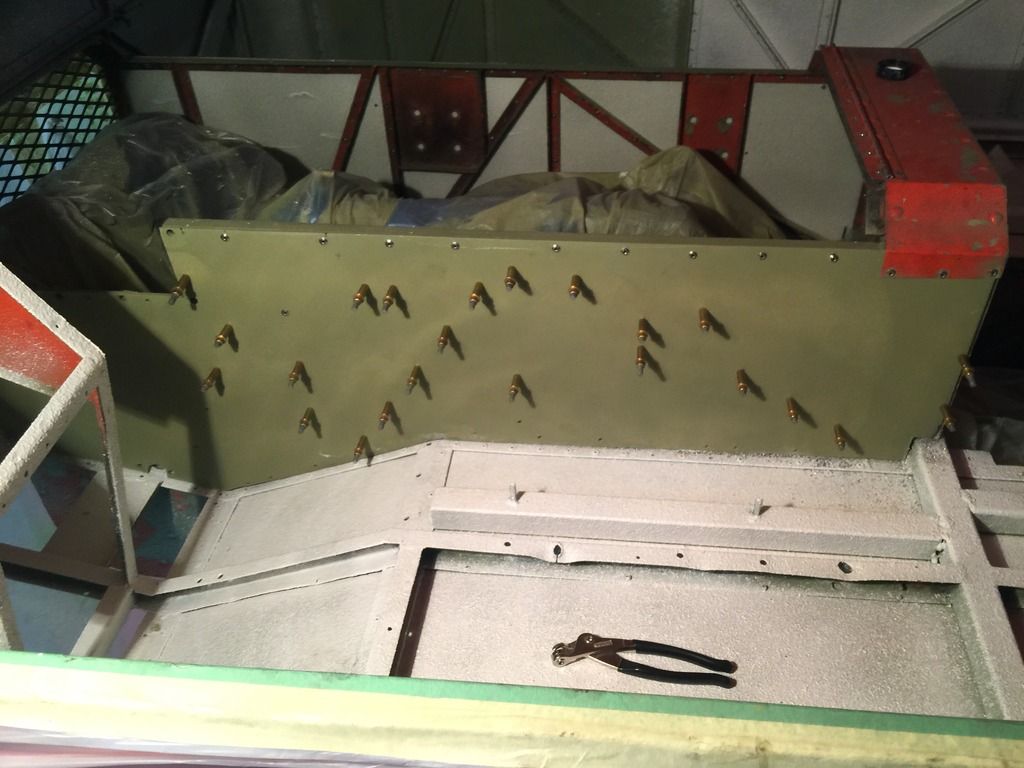
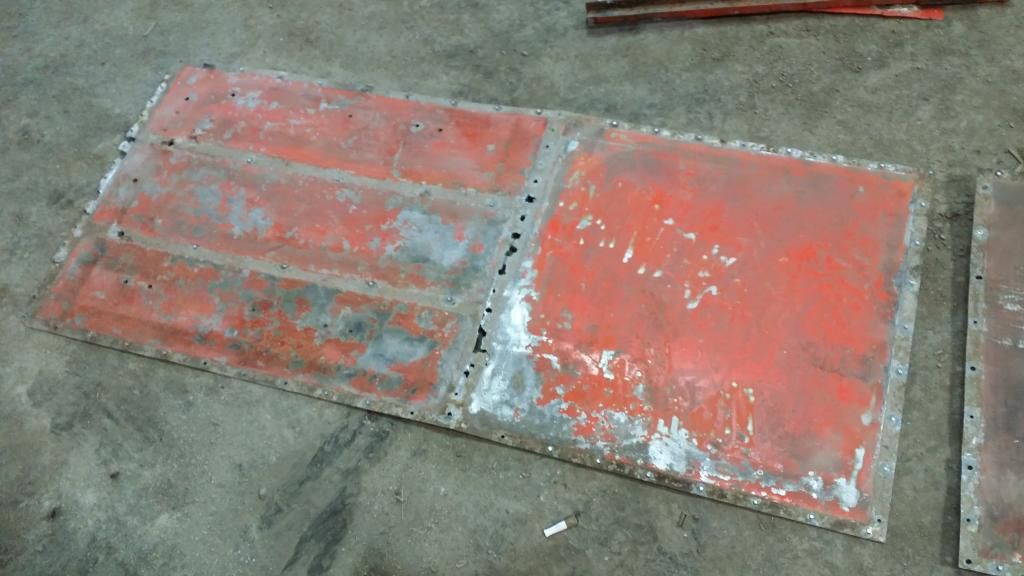
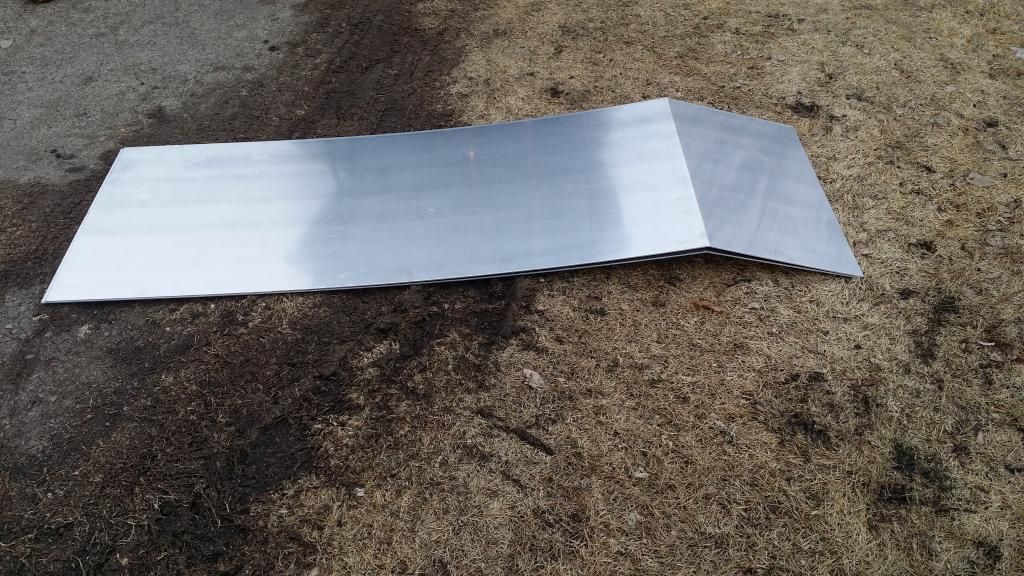
rotten footwell panel and cobbled repair plate. This one plate weighs as much as both new floor panels. Its THICK!! and of course I dropped it on my knee.

1202-105_zpsofmmwsf9.jpg


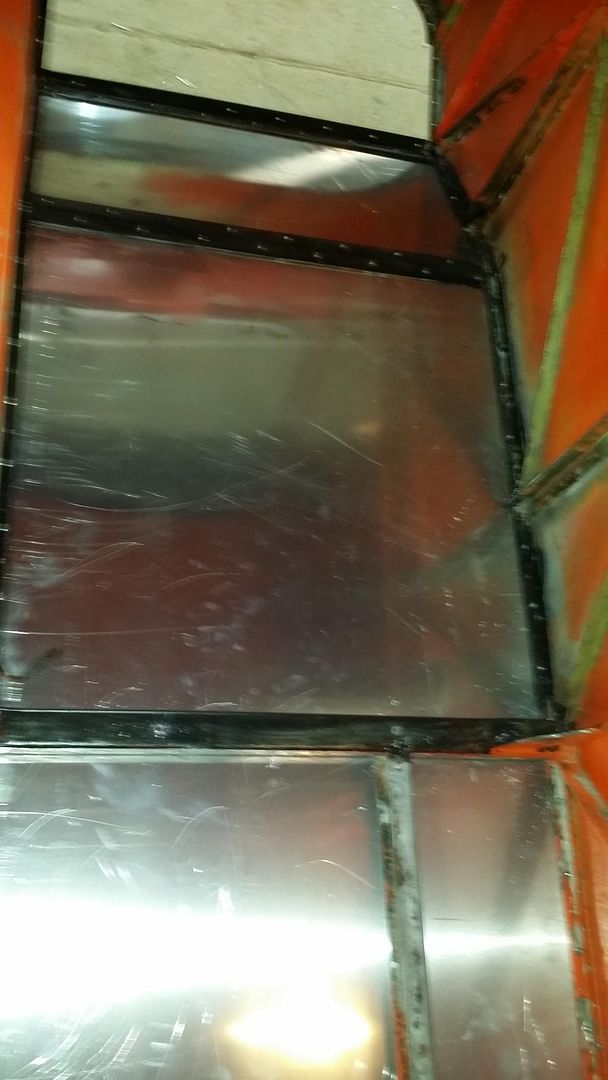
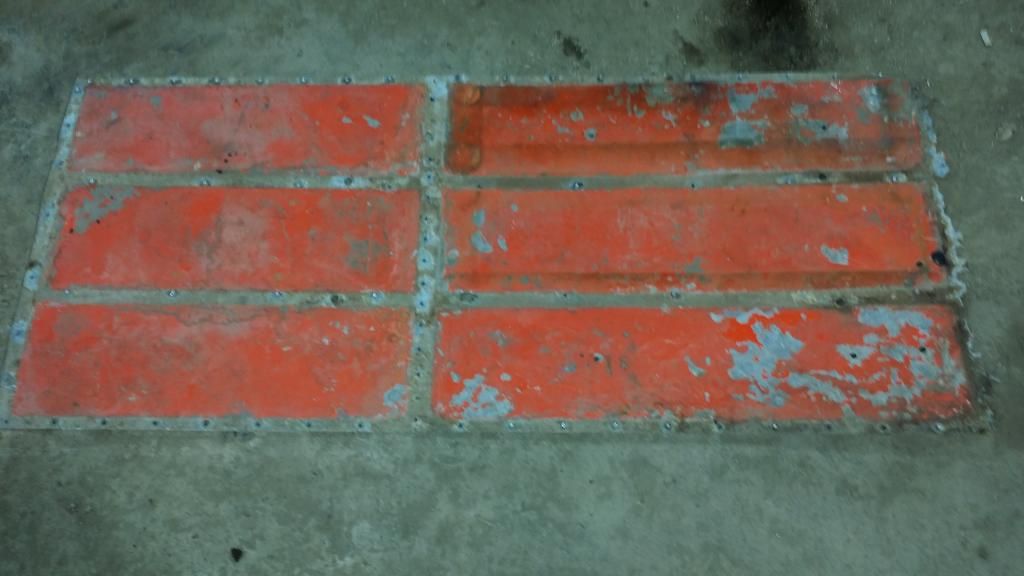
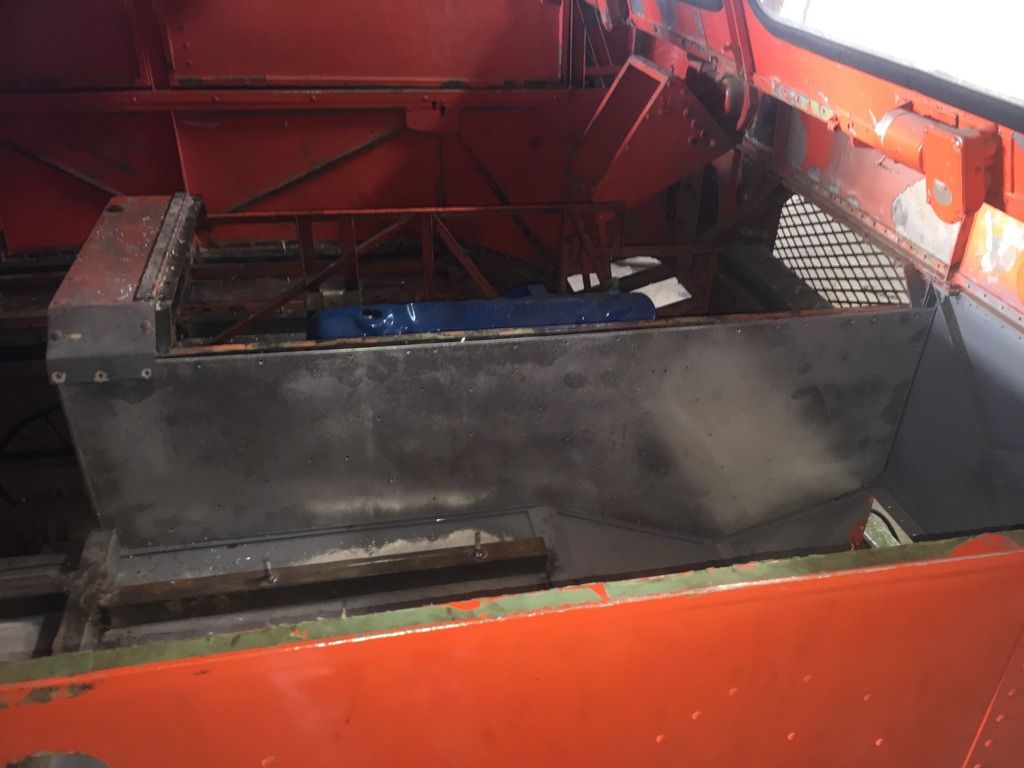
You can see what I mean about how rotten the back was in this picture. Cant wait to spray the interior on Friday and have it all clean and white!
 

zspryte

Member
Site Supporter
Nice job on those fool panels. The rivet heads seem to have holes in them as if they are pop rivets. What type of rivets did you use?
 
I use stainless steel pop rivets. That is what I used on the Imp also. They seem to stay nice and tight. The raptor liner will seal the holes. Also when I did the Imp I did a lot of studying on these and the characteristics are about the same as the solid rivets that I believed were used. I primarily do the work by myself so bucking all of the rivets would be extremely difficult.
 
Last edited:

Nikson

Bronze Member
GOLD Site Supporter
its amazing what one finds "under the skin" LOL :)

Good going as always!
 

zspryte

Member
Site Supporter
It was suppose to be floor -

Your pictures really show how water, steel, and aluminum don't play nicely together.

Did the locations of where the aluminum was corroded away coincide with where the steel was most rusted?
 
Very true zspryte! Yes the most rotten parts of the panels were with the highest concentration if rust. Luckily the rust was all on surface and didnt cause any structural damage. The worst rust and corrosion was in the back on both sides. This is were I would expect that most water to be present as the tracks no doubt sling alot of snow up there. It does go to show you that it is important to have a coating or seal the tubs of these machines up.
 
12_zpsb0rbpyth.jpg

10_zpsbuz7eppi.jpg


11_zpsgjut3oml.jpg


I have began the white raptor lining of interior panels. Came out very well actually. I also Built my new fuse and relay panel for the machine.
THe original gas tank actually cleaned up well. I took the fuel sender apart and cleaned it and now it works too.
I am waiting for the other fuse holder to show up and then there will be another fuse holder for the second relay. The third is a spare for future additions. Relay 1 will serve the light bars strobes and 2 12v cig accessory plugs.

Relay 2 will serve blower, headlights, wipers, dome light and 1 or 2 12 volt acc. plugs.
 
Last edited:
Was pretty solid, definitely didn't hurt to go through it though. Didn't have to bore, just honed the cylinders. something made a nest in the head and two cylinders.
 
image_zpsmosd5som.jpg

We had to sneak the original engine out the door. Some where along the line the cab was welded together and the sheeting was brought from the bottom through the doors.
image_zpsyeqegf8q.jpg

250 ready to go in.

image_zpsigsiposs.jpg


image_zpsjw6aj1dn.jpg

pre engine install bath
image_zpszdi9xh2w.jpg

Currently on the hoist for torsion axle bushings and making sure the grease adjusters are free and working. We already moved motor mounts to the drivers side 1.5 inches to center them and also back to make room for original fan. Also cut a relief pocket in cross beam to allow for the C4 trans.
image_zps0sq8qsnj.jpg


image_zpstp6xjs0a.jpg

image_zpsizisvgep.jpg

image_zps57x9dmzr.jpg


image_zpsc18mgrmu.jpg


Also got new seats so had a test fitting
 
Well trying to get the old girl rapped up. Interior is raptor lined, new 250 ci engine installed, Ford C4 trans in place, and replaced some additional aluminum panels.
image_zpsattfr7he.jpg


The original engine panels had tons of holes drilled in them. Some corrosion along the bottom and were just really flimsy. Replace both sides with 1/8".

image_zpsyihudkx2.jpg


image_zps9p05oafj.jpg


image_zpssckba1vh.jpg


Final test fitting

image_zpstwhh30xl.jpg


Shifter box prepped

image_zps9llesnrz.jpg


Test fit

image_zpsqoypt1x5.jpg
 
image_zpsfkhshgbc.jpg


You can see in these photos that the raptor liner is thin. I put three coats when all was said and done. This is the first light coat.
image_zpscpsz03ru.jpg


Second coat of raptor liner

image_zpsilxpkorz.jpg


image_zpsm42grfeg.jpg


image_zpsfhlzwqtj.jpg


image_zpssplxw4cn.jpg


image_zpseexd7bqy.jpg


Engine wired. Not finished as far as putting everything in loom. Want to test fire engine first.

image_zpsxxkelna5.jpg


List is getting pretty short now. Hope to be completely wrapped up by end of December.
 

Northcoast

Member
GOLD Site Supporter
I think the lighter interior is definite improvement,along with auto trans and sound deadening. Thanks for all the pics.
 
Top