vintagebike
Well-known member
SR must have an Apple Watch to be on top of this?

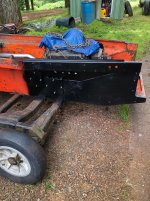
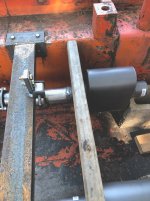
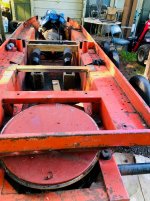
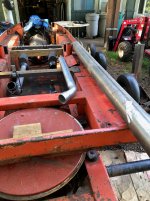
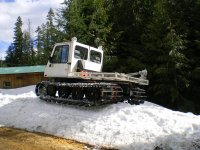
Nice looking pan.
With the fairly large extension you must have a pretty fair amount of room under the engine ????
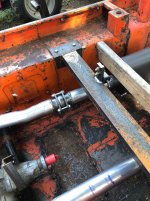
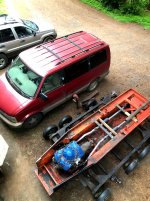
I have the little Chevy within 1/2" of the bottom of the tub....so the only thing I can/could do is go out sideways with any additions.
There is room to extend the sump forward some too......
The front axle is right below the pan so there is no room to go down at all.
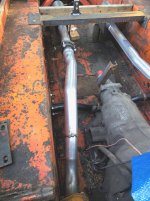
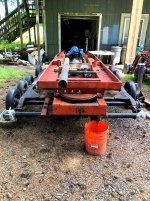
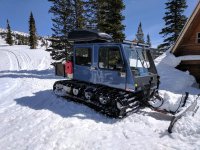
There are several specialty "Hot Rod" pan builders that make all manner of pans for the Small block Chevy, so if/when I decide to do something I will likely look to one of these options....
Back many many years ago I was into Drag boats and ran Big Chevy's......I always used a 13 quart specialty Marine pan that was baffled and gated.
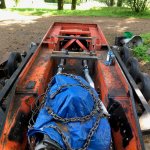
For now... with so much work ahead to get this project up and running I am thinking that a fresh oil change and filter will be good to go.
Later on down the road things can be revisited and changes made to suit the need.
I don't want to get bogged down with a bunch of little special things that are gonna hog the limited budget.
Getting the power train pretty well complete and such is my goal for this summer.
After the power train is ready to go the remaining part of the build will be relatively simple, although full of several little projects.
The air system
The cable trans shifter
Wiring from the van to the cats engine.
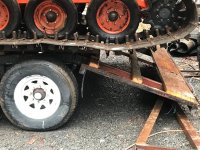
There is still the issue of the tracks....I have one (1) of the 57" standard tracks.
Hopefully one more will come along....
why not dry sump it and run a remote oil pan.
No. In fact, I think most of us suggested exactly the opposite.


 ,... that's when TV was worth watching,... actually been to Oahu & seen G.Island,... it was sold to the marine corp. for training , after the series,.. then sold to a private owner.... well , the big ponies are nice to haul the mail,... little thirsty ,.. but make sure you trade it before the first overhaul.... it's nothing to spend 15K on a rebuild,...
Ice road truckers....I used to love to pick that show apart.....