I just wanted to say hello to every one and this is my first time ever on a forum.
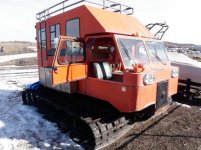
I was looking to get an ATV or UTV so I could take my youngest son landon who has CP, out to enjoy all that Colorado has to offer. The problem I had was there is no safe way to keep him on an ATV. So the search was on for something that had a seat that would hold him safely. UTVs where very expensive, so the best thing i found at the time was an ARGO 8X8 Conquest (top, plow, winch, 18 in tracks, trailer) he loves it. To years later my friend Harold told me I need something better than that, he said those words we all no and love SNOW CAT! The bug bit me and bit me good. I bought a grate machine localy and decited to make it like new. So here are picks of my build, a 1969 Tiokol Spryte 1201B that was converted to a 1201C.


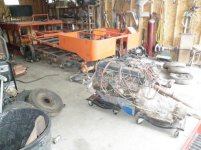
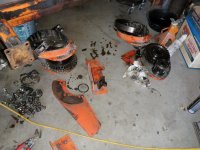
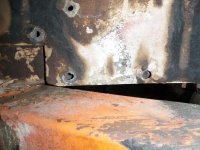
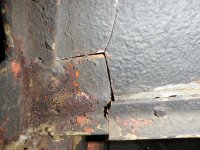
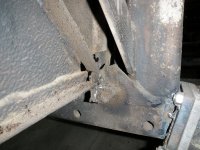
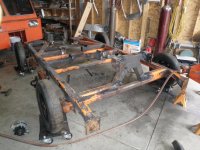
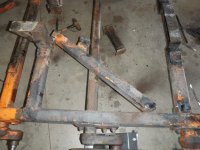
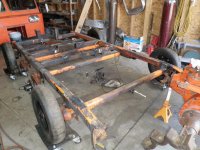
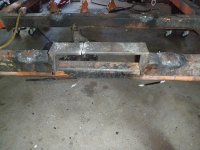
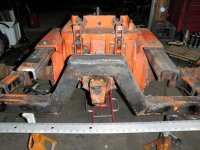
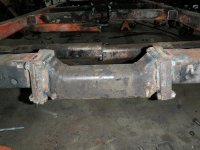
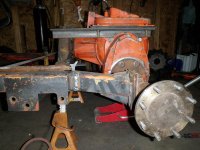
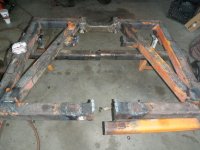
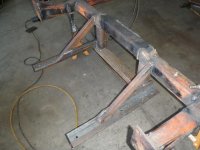
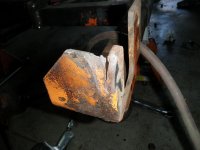
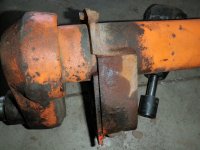
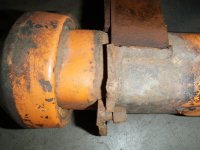
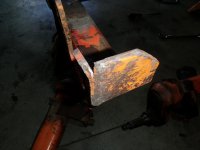
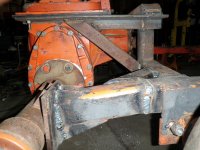
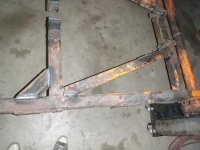
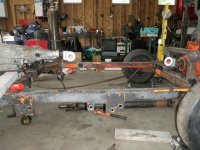
Time to make it look like new, apart she comes.

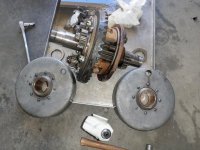
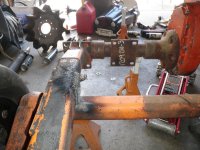
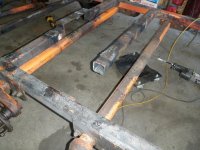
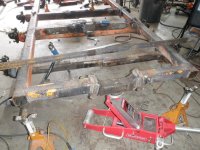
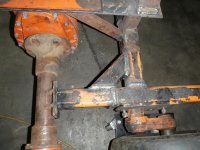
I needed it to be a standard track and I needed parts, on the road we went. I got some good J tracks thanks to the Sharp sale, axles and tubes all new thanks to Nick at Petersons.

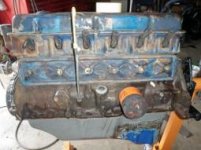
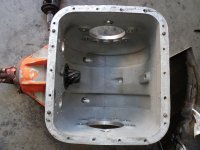
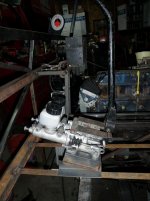
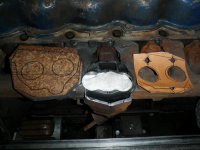
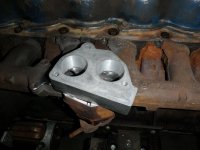
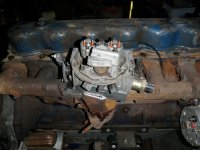
Engine is a new industrial 300 L6. It was sitting out side and the fuel tank was full of water, so full there was some water in three of the Engines cylinders. Now take it all apart and make her new. While I was there I took a truck oil pan and added it to the industrial pan giving me 4 more quarts of oil and rear supply pickup for climing.


I was looking to get an ATV or UTV so I could take my youngest son landon who has CP, out to enjoy all that Colorado has to offer. The problem I had was there is no safe way to keep him on an ATV. So the search was on for something that had a seat that would hold him safely. UTVs where very expensive, so the best thing i found at the time was an ARGO 8X8 Conquest (top, plow, winch, 18 in tracks, trailer) he loves it. To years later my friend Harold told me I need something better than that, he said those words we all no and love SNOW CAT! The bug bit me and bit me good. I bought a grate machine localy and decited to make it like new. So here are picks of my build, a 1969 Tiokol Spryte 1201B that was converted to a 1201C.
Time to make it look like new, apart she comes.
I needed it to be a standard track and I needed parts, on the road we went. I got some good J tracks thanks to the Sharp sale, axles and tubes all new thanks to Nick at Petersons.
Engine is a new industrial 300 L6. It was sitting out side and the fuel tank was full of water, so full there was some water in three of the Engines cylinders. Now take it all apart and make her new. While I was there I took a truck oil pan and added it to the industrial pan giving me 4 more quarts of oil and rear supply pickup for climing.