daedong
New member
Did not know what forum to post this so I thought here would get good exposure.
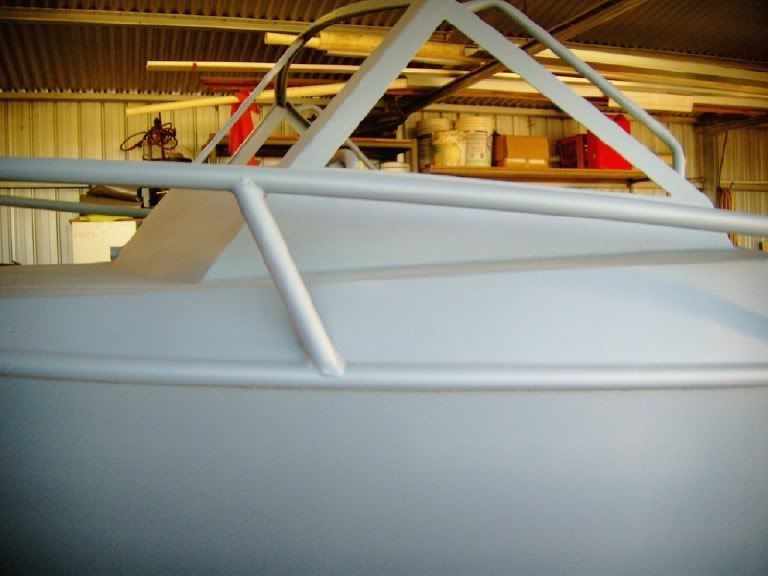
I am just about ready to spray paint my boat. Spray painting is something I have never done before; consequently I am on a step learning curve. I understand that compressors for spraying painting should have moisture filters.
So today I went hunting through all my trinket boxes and I found this. Will it do the trick, how does it work, is it just positioned on the air outlet what else can you tell me about it?
 ...unless you like that sort of thing!