• Please be sure to read the rules and adhere to them. Some banned members have complained that they are not spammers. But they spammed us. Some even tried to redirect our members to other forums. Duh. Be smart. Read the rules and adhere to them and we will all get along just fine. Cheers. :beer: Link to the rules: https://www.forumsforums.com/threads/forum-rules-info.2974/

Thinking of building this

daedong

New member

2.0 VESSEL SPECIFICATION
Specification details for the 5.6m Runabout Vessel are:

1. Principal Particulars

LOA: 6.0m

Length (Hull) 5.6m

Beam: 2.3m

LWL: 4.55

Draft (hull only): 0.2m

Hull Depth (Midships): 1.03m

Freeboard (Midships): 0.195m

Fuel Capacity (Rec.): 120 L

Deadrise: (M/S) 15°

Rec. Engine Power: 50-150HP
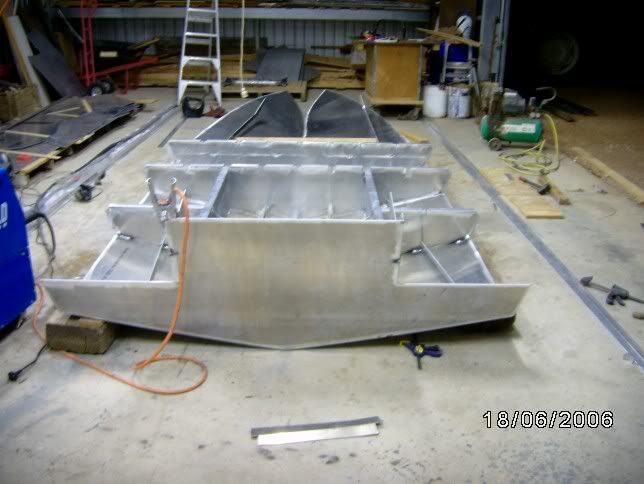
2. Hull Type

The CDM M56C hull is a moderate deadrise high performance design with reasonable rake of stem (48° from horizontal) and forward sections to achieve a compromise between easy planing ride quality and load carrying/stability with good tracking. The hull topsides are flared enough for the desirable dryness and aesthetics but are the required height for safety and fishing comfort.
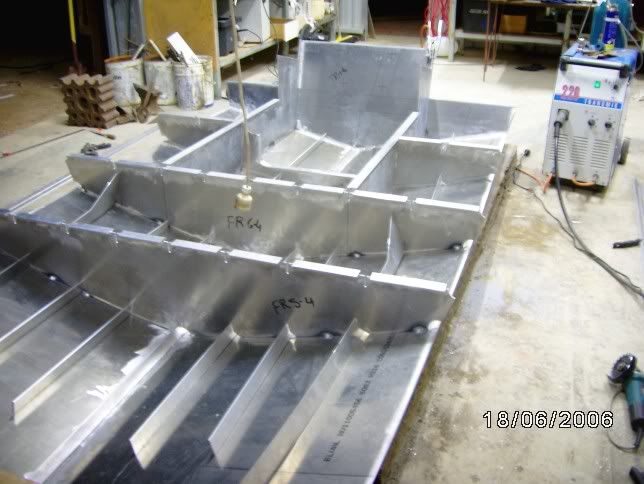
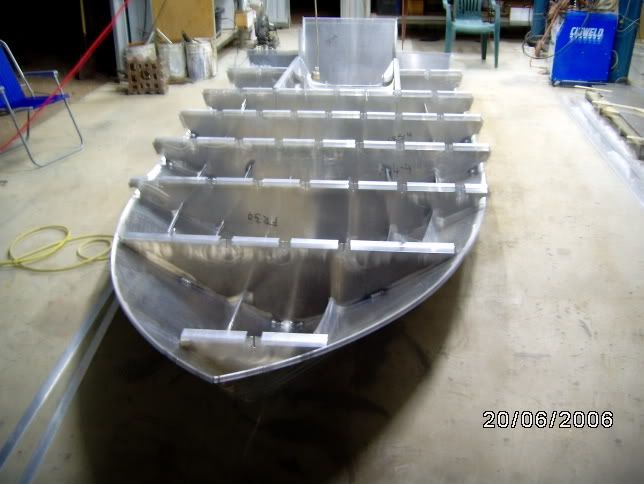
3. Construction

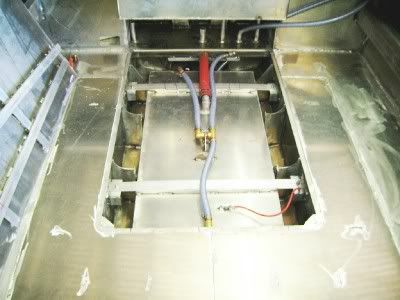
The vessel is constructed from all DNV certified marine grade aluminium. The hull is constructed from full depth transverse web frames. Aft girders reaching two frames forward from the transom (Half Pod) complete the strong, yet light main construction matrix.
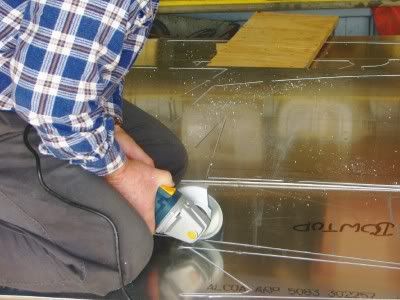
50 x 6mm and pre-cut plate bottom stringers are used for bottom longitudinals. The fully welded deck is slot welded by pre-cut slots on a T-Bar grid. All plate is 4mm DNV Certified 5083 H321 grade.
CDMcolor11111.jpg


SCANTLINGS:

Max. Frame Spacing (mm) 750
Max. Stringer Spacing (mm) 250
Bottom Plate (mm) 4
Topside Plate (mm) 4
Bottom Stringers (mm) 50x6 FB
Transom Plate (mm) 6
Frames (mm) 4
Deck Stringers (mm) 40x40x4 T
Deck Plate (mm) 3
AVAILABLE POWERING OPTIONS:


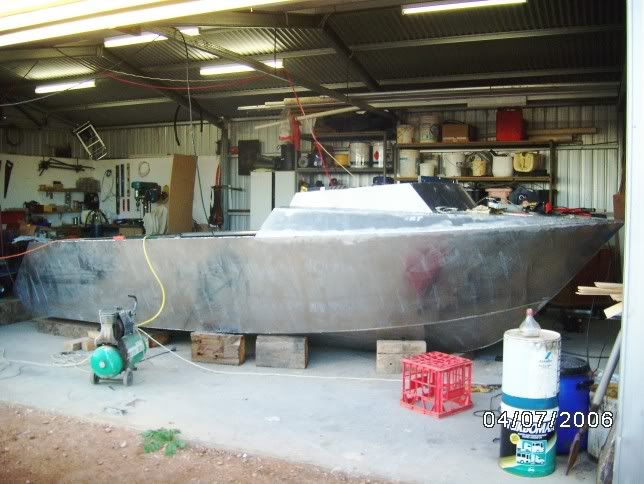
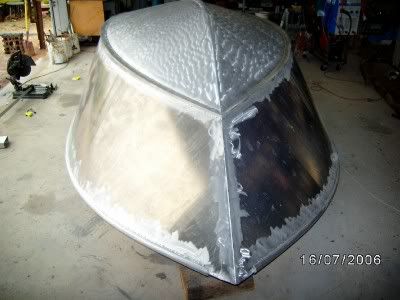
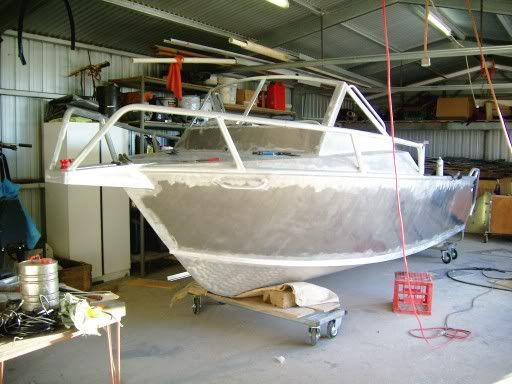
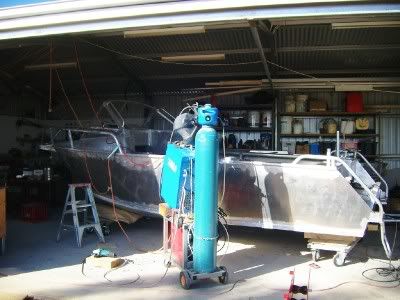
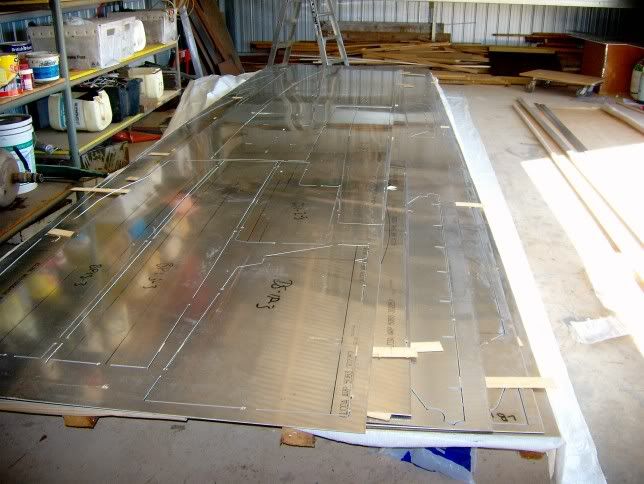
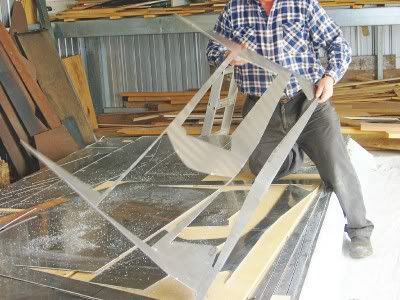
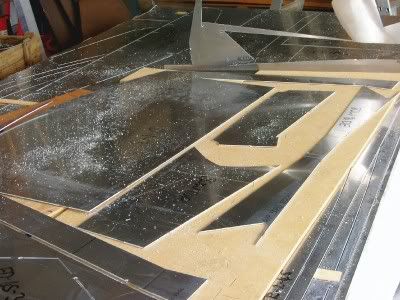
I am thinking about having a go at building an aluminium boat. I like this one, It comes in a kit from western Australia. The kit is all hull and deck plates plasma cut just weld together, well hopefully. I need to spend a bit more time practising with the MIG. I feel fairly confident after reading about many amateurs with no previous experience building many different alloy boats from this crowd.
http://www.cdmarine.com.au/range.html

The cost of the kit is $8300au about $1500au freight

The missus reckons she could take a nice holiday somewhere overseas with the money but I think this would be more fun.
 

Doc

Bottoms Up
Staff member
GOLD Site Supporter
Whoa Vin. that's quite a project. I've grown quit fond of fiberglass boats over alumium. But you wouldn't get any welding time if you tried your hand at figberglass. Good luck with your project and keep us posted when you can. :thumb:
 

DaveNay

Klaatu barada nikto
SUPER Site Supporter
daedong said:
The missus reckons she could take a nice holiday somewhere overseas with the money but I think this would be more fun.

Will you have enough time to get it built while she is on holiday? :yum:
 

daedong

New member
Doc said:
Whoa Vin. that's quite a project. I've grown quit fond of fiberglass boats over alumium. But you wouldn't get any welding time if you tried your hand at figberglass. Good luck with your project and keep us posted when you can. :thumb:
Fiberglass is not in flavor much here now, there is a big trend towards alloy plate. Quintrex are absolutly booming here. There is very little saving building it myself but i just want to do it for the fun.

Is Quintrex in the US?
http://www.quintrex.com.au/

I have been researching this project for a month or two now, Its crazy, there is very little difference in price buying one of these kits from the other side of the country,oppossed to buying plans, buying the plate local and then still having to cut it out.

I think i will order a kit this week, put it in the shed ready to start after our river trip in may.
 

daedong

New member
Well I order this kit, should be here within a couple of weeks. I am a little nerves I posted them a cheque for the total sum, they insisted on full payment before they would proceed with the order. Its a long way to western Australia if they do a runner but they have been around a long time i understand. Will post some pics when it arrives.

I take that no respose means Quintrex is not in the USA. I always thiught they originated there.
 

Doc

Bottoms Up
Staff member
GOLD Site Supporter
I haven't heard of Quintex until you mentioned it, but they are indeed here in the US. ...From their web site:

Our Injection Molding division is a leading provider of plastic molded products and assembly services. Quintex has the proven ability to deliver high quality custom injection molded products while maintaining consistent customer service and competitive pricing.

http://www.qntx.com/
 

daedong

New member
The kit arrived on Thursday and I have just uncovered it. I will start cutting it out this week and post some more pics as things happen
DSC_0009.jpg
 

OkeeDon

New member
Vin, that rotary hacksaw looks like a fantastic tool. I have never seen anything like it in the U.S. I did a Google search, and the only thing I could find mentioned was the same Austsaw you pictured. But, when I clicked on their web site, it didn't come up.

I may have to have you buy a few for me and ship them here, unless someone else has seen something like them here in the States? Bob?

I have used ordinary carbide-tipped circular saw blades to cut aluminum, but they chew a wide path. I have a small plasma cutter, but it's only good up to light guage sheet metal and stainless steel; it tends to melt it's way through 1/8" aluminum rather than cut it cleanly. It does the job for which I purchased it, which is stainless up to about 18 guage, but it's not heavy duty enough for thicker materials.

Don
 

daedong

New member
These blades are brilliant; they must be used with some extra caution compared to the abrasive wheels. All cutting must be well supported. My first experience using them was a costly disaster. A few years back I bought a 230mm(9”) blade for a circular saw and was trying to use it just like I had done for years with an abrasive wheel. I had a piece of angle iron hanging in the vice cutting it and as it collapsed in the process of cutting, it jammed and smashed the teeth to smithereens. I went and bought another blade and persevered, learning from my first experience I always well support whatever I cut, usually do it flat on a piece of MDF or ply. I do try not to cut anything now with these blades other than plate.

I have just bought a milling blade to fit the 100mm (4”) angle grinder for cutting out aluminum welds, I will post a pic of it when I use it later in this project
 

Mith

The Eccentric Englishman
SUPER Site Supporter
Vin, looks good. Are the parts cut with tabs you need to cut to break them out?
How thick is the sheet?
Looking forward to seeing this done!

That blade, how does it wear? Does it just disappear or last for ages?
I have been using Inox blades, normal grinding disks but really thin, they are meant for Stainless but work great on steel. But they do just disappear. How well do the other disks last?
Cheers mate
 

daedong

New member
There are tabs about every 400mm to 800mm you just cut them and pop the section out. The tabs are about 40mm long
I cut out 3 sheets today (sheet size 1200mm X 6100mm x 3mm.
Tomorrow I have 3 more sheets to cut they are 1830mm x 6100mm x 4mm. I will post another pic tommorow as there are some really interesting shapes in the next 3 sheets.

http://www.austsaw.com.au/
The ROTARY HACKSAW incorporates the highest quality Tungsten Carbide Tips to ensure longevity of blade between sharpening, which after sharpening then gives like-new operations again - protecting your initial investment.
 

Mith

The Eccentric Englishman
SUPER Site Supporter
Starting to look real like a boat now!:thumb:

Are you still just tacking it? At what point are you going to start welding it solid?
 

Melensdad

Jerk in a Hawaiian Shirt & SNOWCAT Moderator
Staff member
GOLD Site Supporter
Mith said:
Are you still just tacking it?

I think I saw that he had a large tube of "JB Weld" in one of the earlier photos:whistle:
 

Attachments

  • jbweld_lrg.jpg
    jbweld_lrg.jpg
    19.5 KB · Views: 260

daedong

New member
Mith said:
Starting to look real like a boat now!:thumb:

Are you still just tacking it? At what point are you going to start welding it solid?
Yep, because aluminium moves so much with temperature changes it is important to tack the whole thing together first.

[FONT=&quot]Hey Bob many glues today are probably strong enough, there a bit better than the old flour and water trick of old. [/FONT]
 

Melensdad

Jerk in a Hawaiian Shirt & SNOWCAT Moderator
Staff member
GOLD Site Supporter
daedong[FONT=&quot said:
many glues today are probably strong enough [/FONT]

In all seriousness, some of the car manufacturers are starting to use epoxies to glue parts to the newer cars together.
 

Cityboy

Banned
That is some beautiful work! :a1: Looks like you are using a MIG welder, right? Will you be doing any TIG work as well?
 

Mith

The Eccentric Englishman
SUPER Site Supporter
Bob, we used to have a Lotus Elise, that was all glued together to make it lighter. Made from aluminium. It would be plenty strong enough for sure.
 

daedong

New member
[FONT=&quot]Its coming along, When I got to start putting the top deck on nothing would fit into place, I was pulling my hair out trying to work it out. After a day of not making any sense of it I decided to ring the guy I bought the kit from. After send email photos and many phone calls he declared that some how there must have been a software problem and several deck parts where from another design. Figure that one. I probably should have screamed but instead I said I would modify the deck parts. No big deal except it took two days cutting and shaping bits to fit the hull. The original bits look like they fitted a bigger boat.[/FONT]


boatf.jpg
 

Melensdad

Jerk in a Hawaiian Shirt & SNOWCAT Moderator
Staff member
GOLD Site Supporter
Vin, with the on-site changes you made, will it make the cuddy cabin headroom a little higher? From the 1st post drawings you showed it looks like you still need to add the windshield but it also looks like the small cabin area may be a bit taller that the original design?
 

daedong

New member
Bob, most of the changes were to the width across the bow, This did effect the second tier and the angles but only so very slightly just enough to be a pain. The top part of the cab maybe very slightly higher. My intention now is to fully weld out, turn the boat over weld the underside.
[FONT=&quot]There is a boat show on in Adelaide on the 20th , I hope I can get some ideas as to the windscreen, etc. I am considering adding a ½ cab but I need some ideas. Maybe some FF folks might have some pics of nice ½ cabs they could post for me. Hey Doc what you got! [/FONT]
 

bczoom

Super Moderator
Staff member
GOLD Site Supporter
daedong said:
There is a boat show on in Adelaide on the 20th , I hope I can get some ideas as to the windscreen, etc. I am considering adding a ½ cab but I need some ideas. Maybe some FF folks might have some pics of nice ½ cabs they could post for me. Hey Doc what you got!
Hopefully, you'll find some people at the show that make covers.

A bimini top for the front area may work well for you. For the long trips, you might want to consider the rear enclosure as well.

Something like this
 

Mith

The Eccentric Englishman
SUPER Site Supporter
Whoaaa, Vin, you sure dont hang about!
Looks nice! :thumb:
 

daedong

New member
Brian, that was what i was thinking, a full cover over the back, never seen them here. thanks for that.
 

Doc

Bottoms Up
Staff member
GOLD Site Supporter
daedong said:
I am considering adding a ½ cab but I need some ideas. Maybe some FF folks might have some pics of nice ½ cabs they could post for me. Hey Doc what you got! [/FONT]

Looking good Vin. Interesting project for sure. I love seeing it come together. :D
I had a camping package like the link BC posted above on another boat. Didn't need it on this boat since the cuddy is big enough. So I can't be any help to you on the 1/2 cab cover. Bimi tops are very popular here. They mainly block the sun while letting air pass underneath so you can stay semi cool.
 

daedong

New member
Not much to say except I had a week of going around in circles, I found out that after tacking the floor in that an under floor air chamber was illegal. It must be filled with a floatation material. So rather than cutting the floor totally out I just cut out the centre. When I put it back I will screw and silicone it instead of welding so that if I ever need to get back into the space it will be easier.

[FONT=&quot]I apologise for not taking some pics of the fuel tank during construction. It was a prick of a job fitting and plumbing the tank, being in a confined spot under the floor. [/FONT]
upsidedown.jpg

front.jpg

fueltank.jpg

sideback.jpg
 
Top